Cthulhu's Beard® twisting turning tentacles wire dock
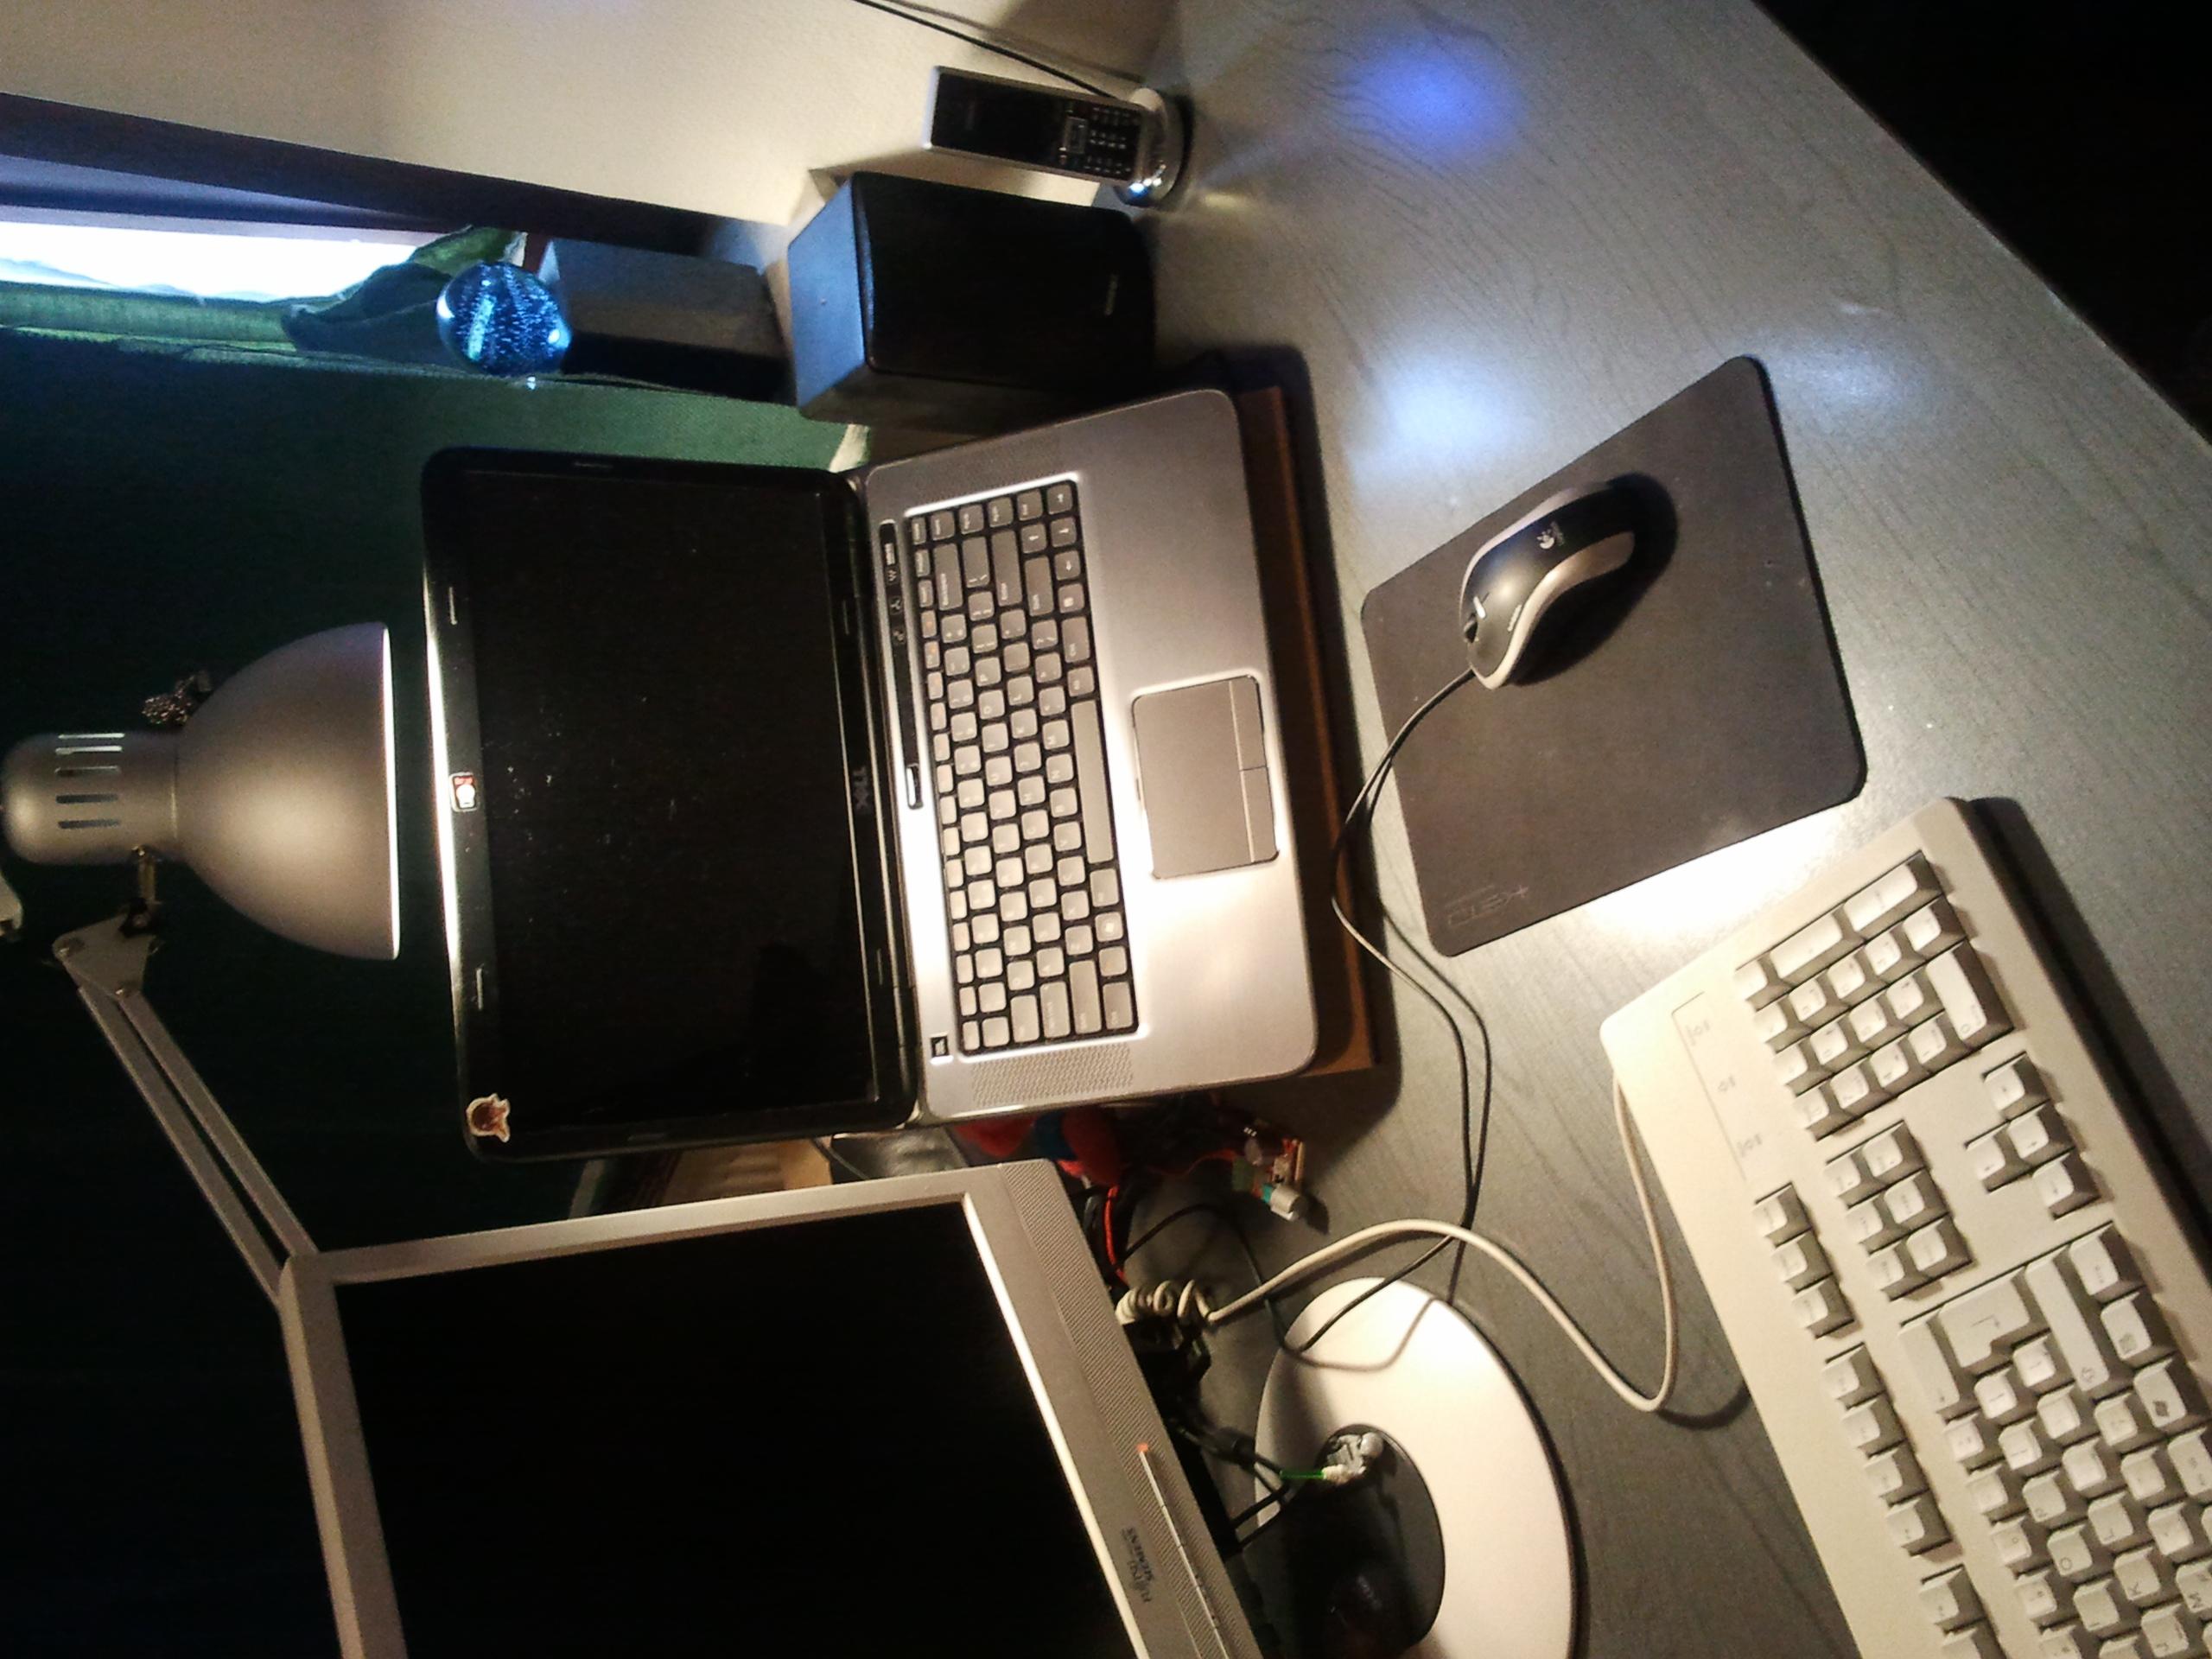
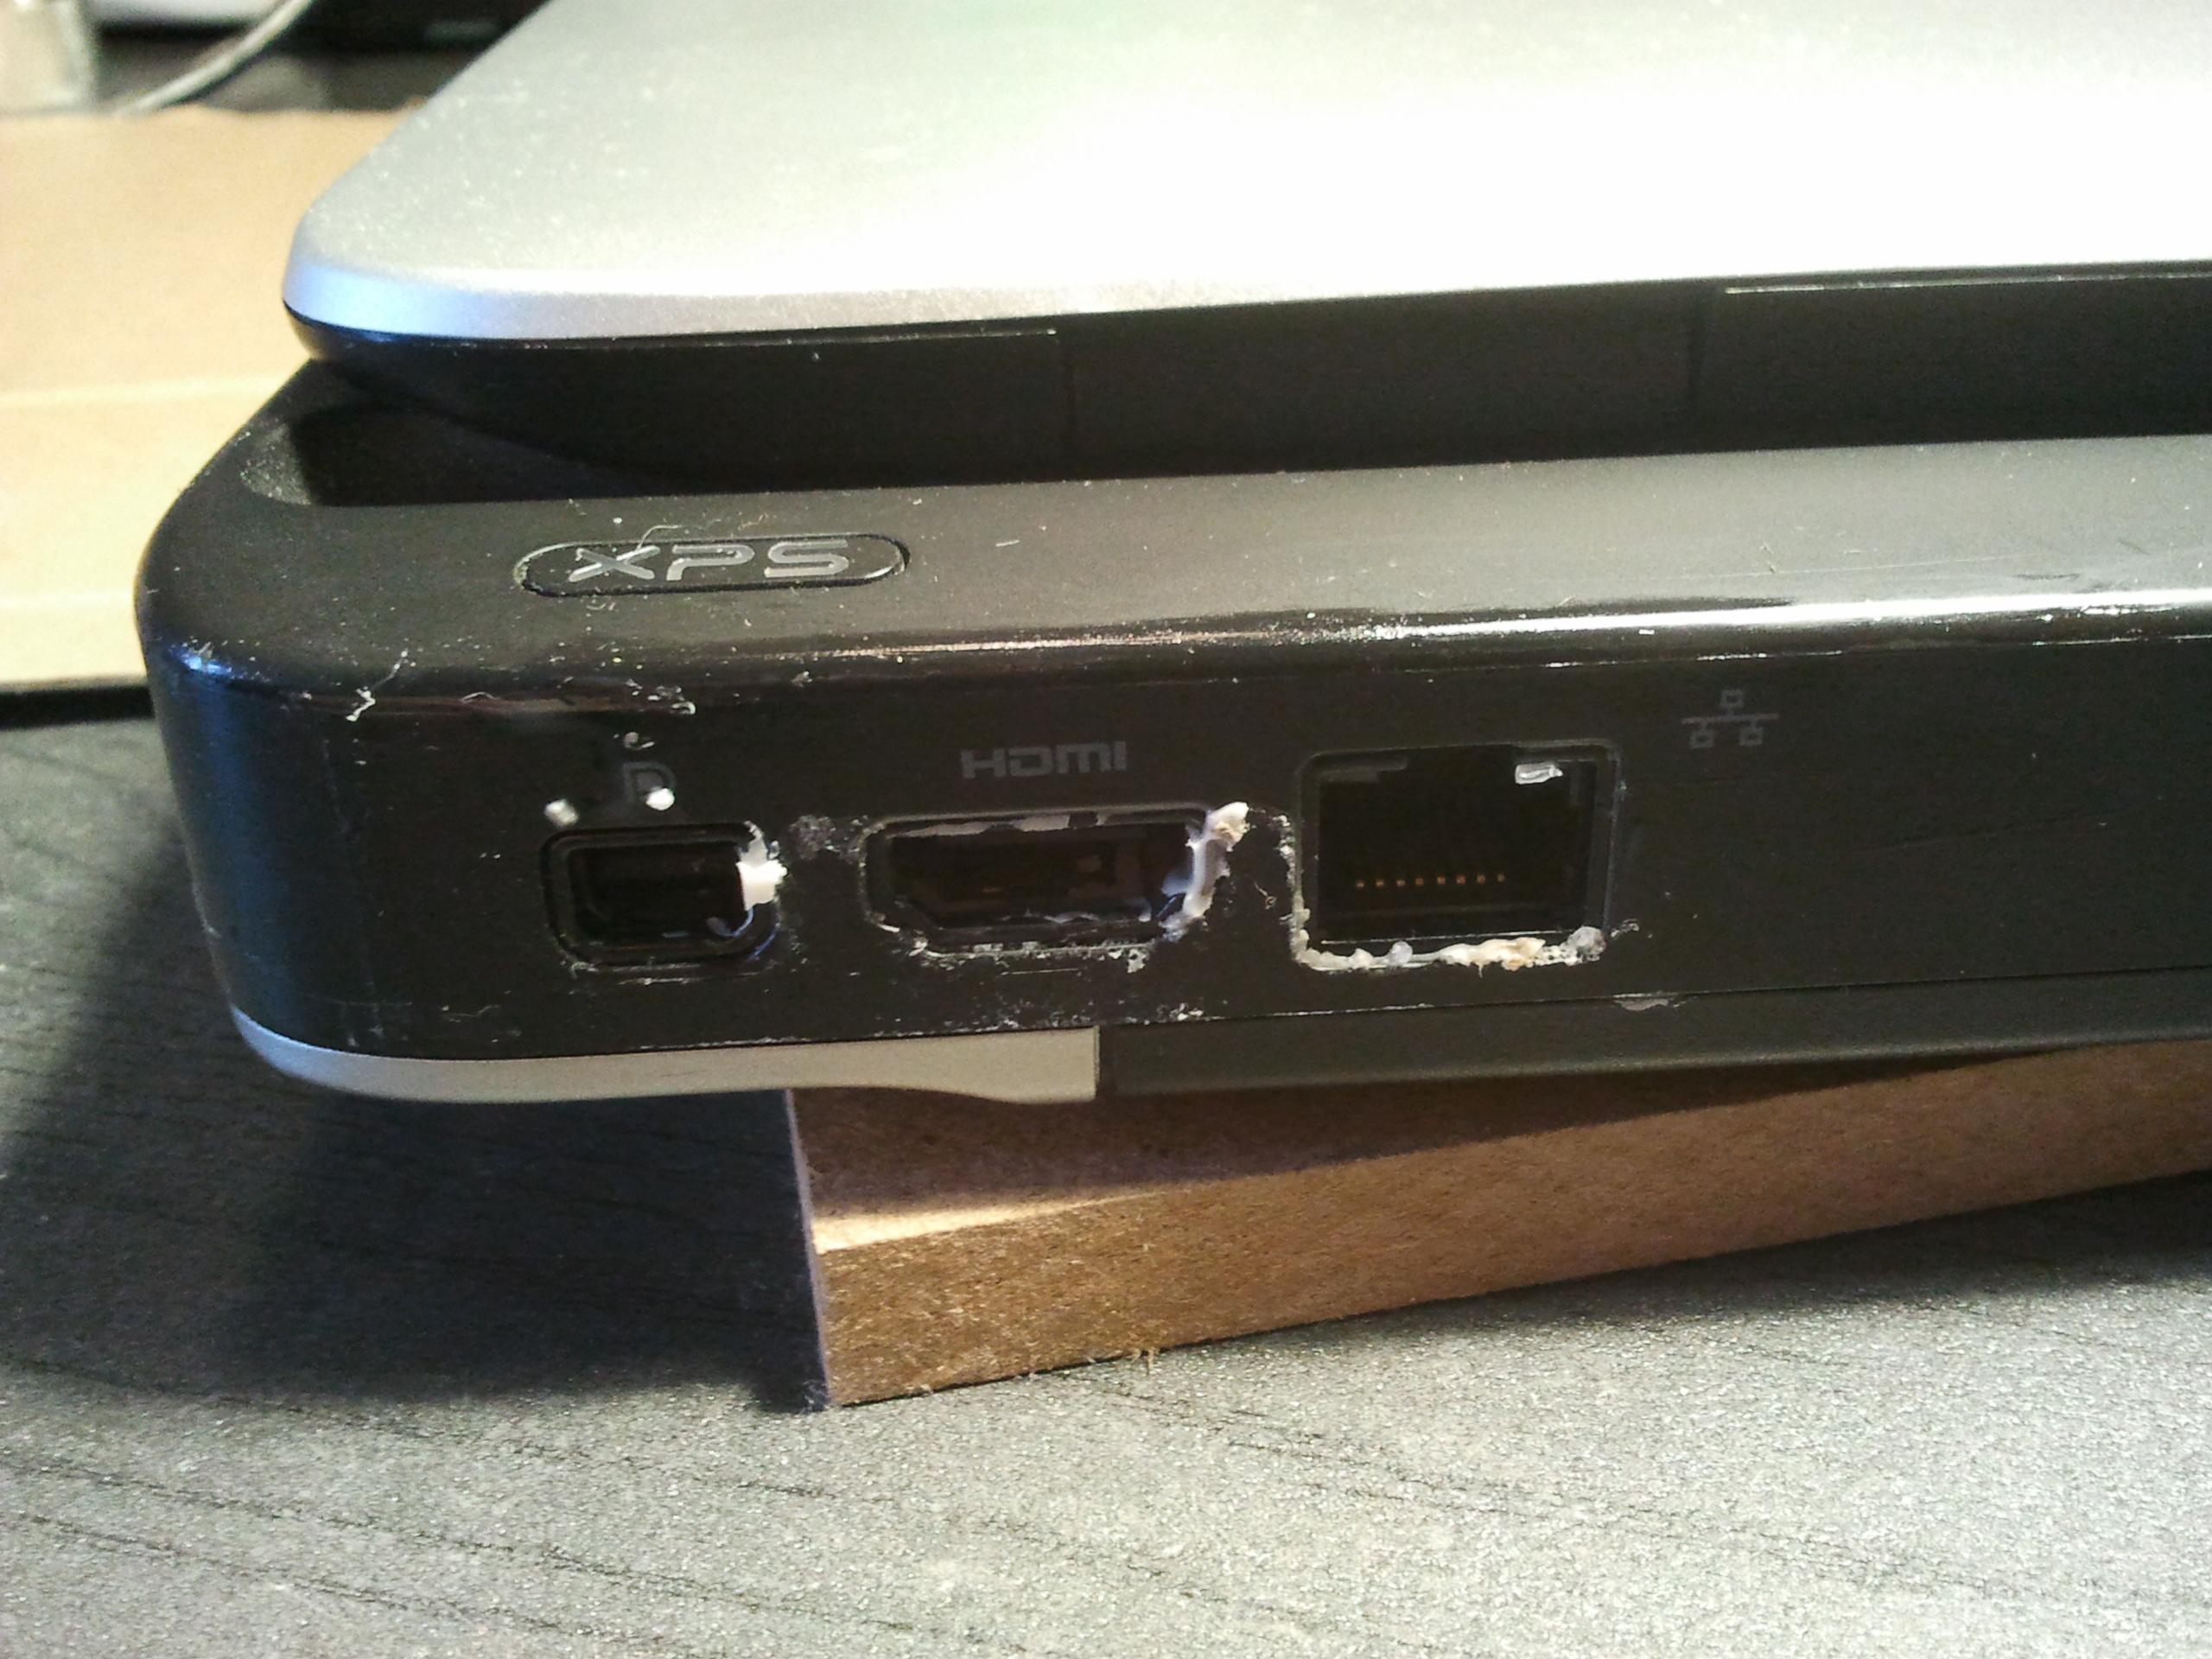
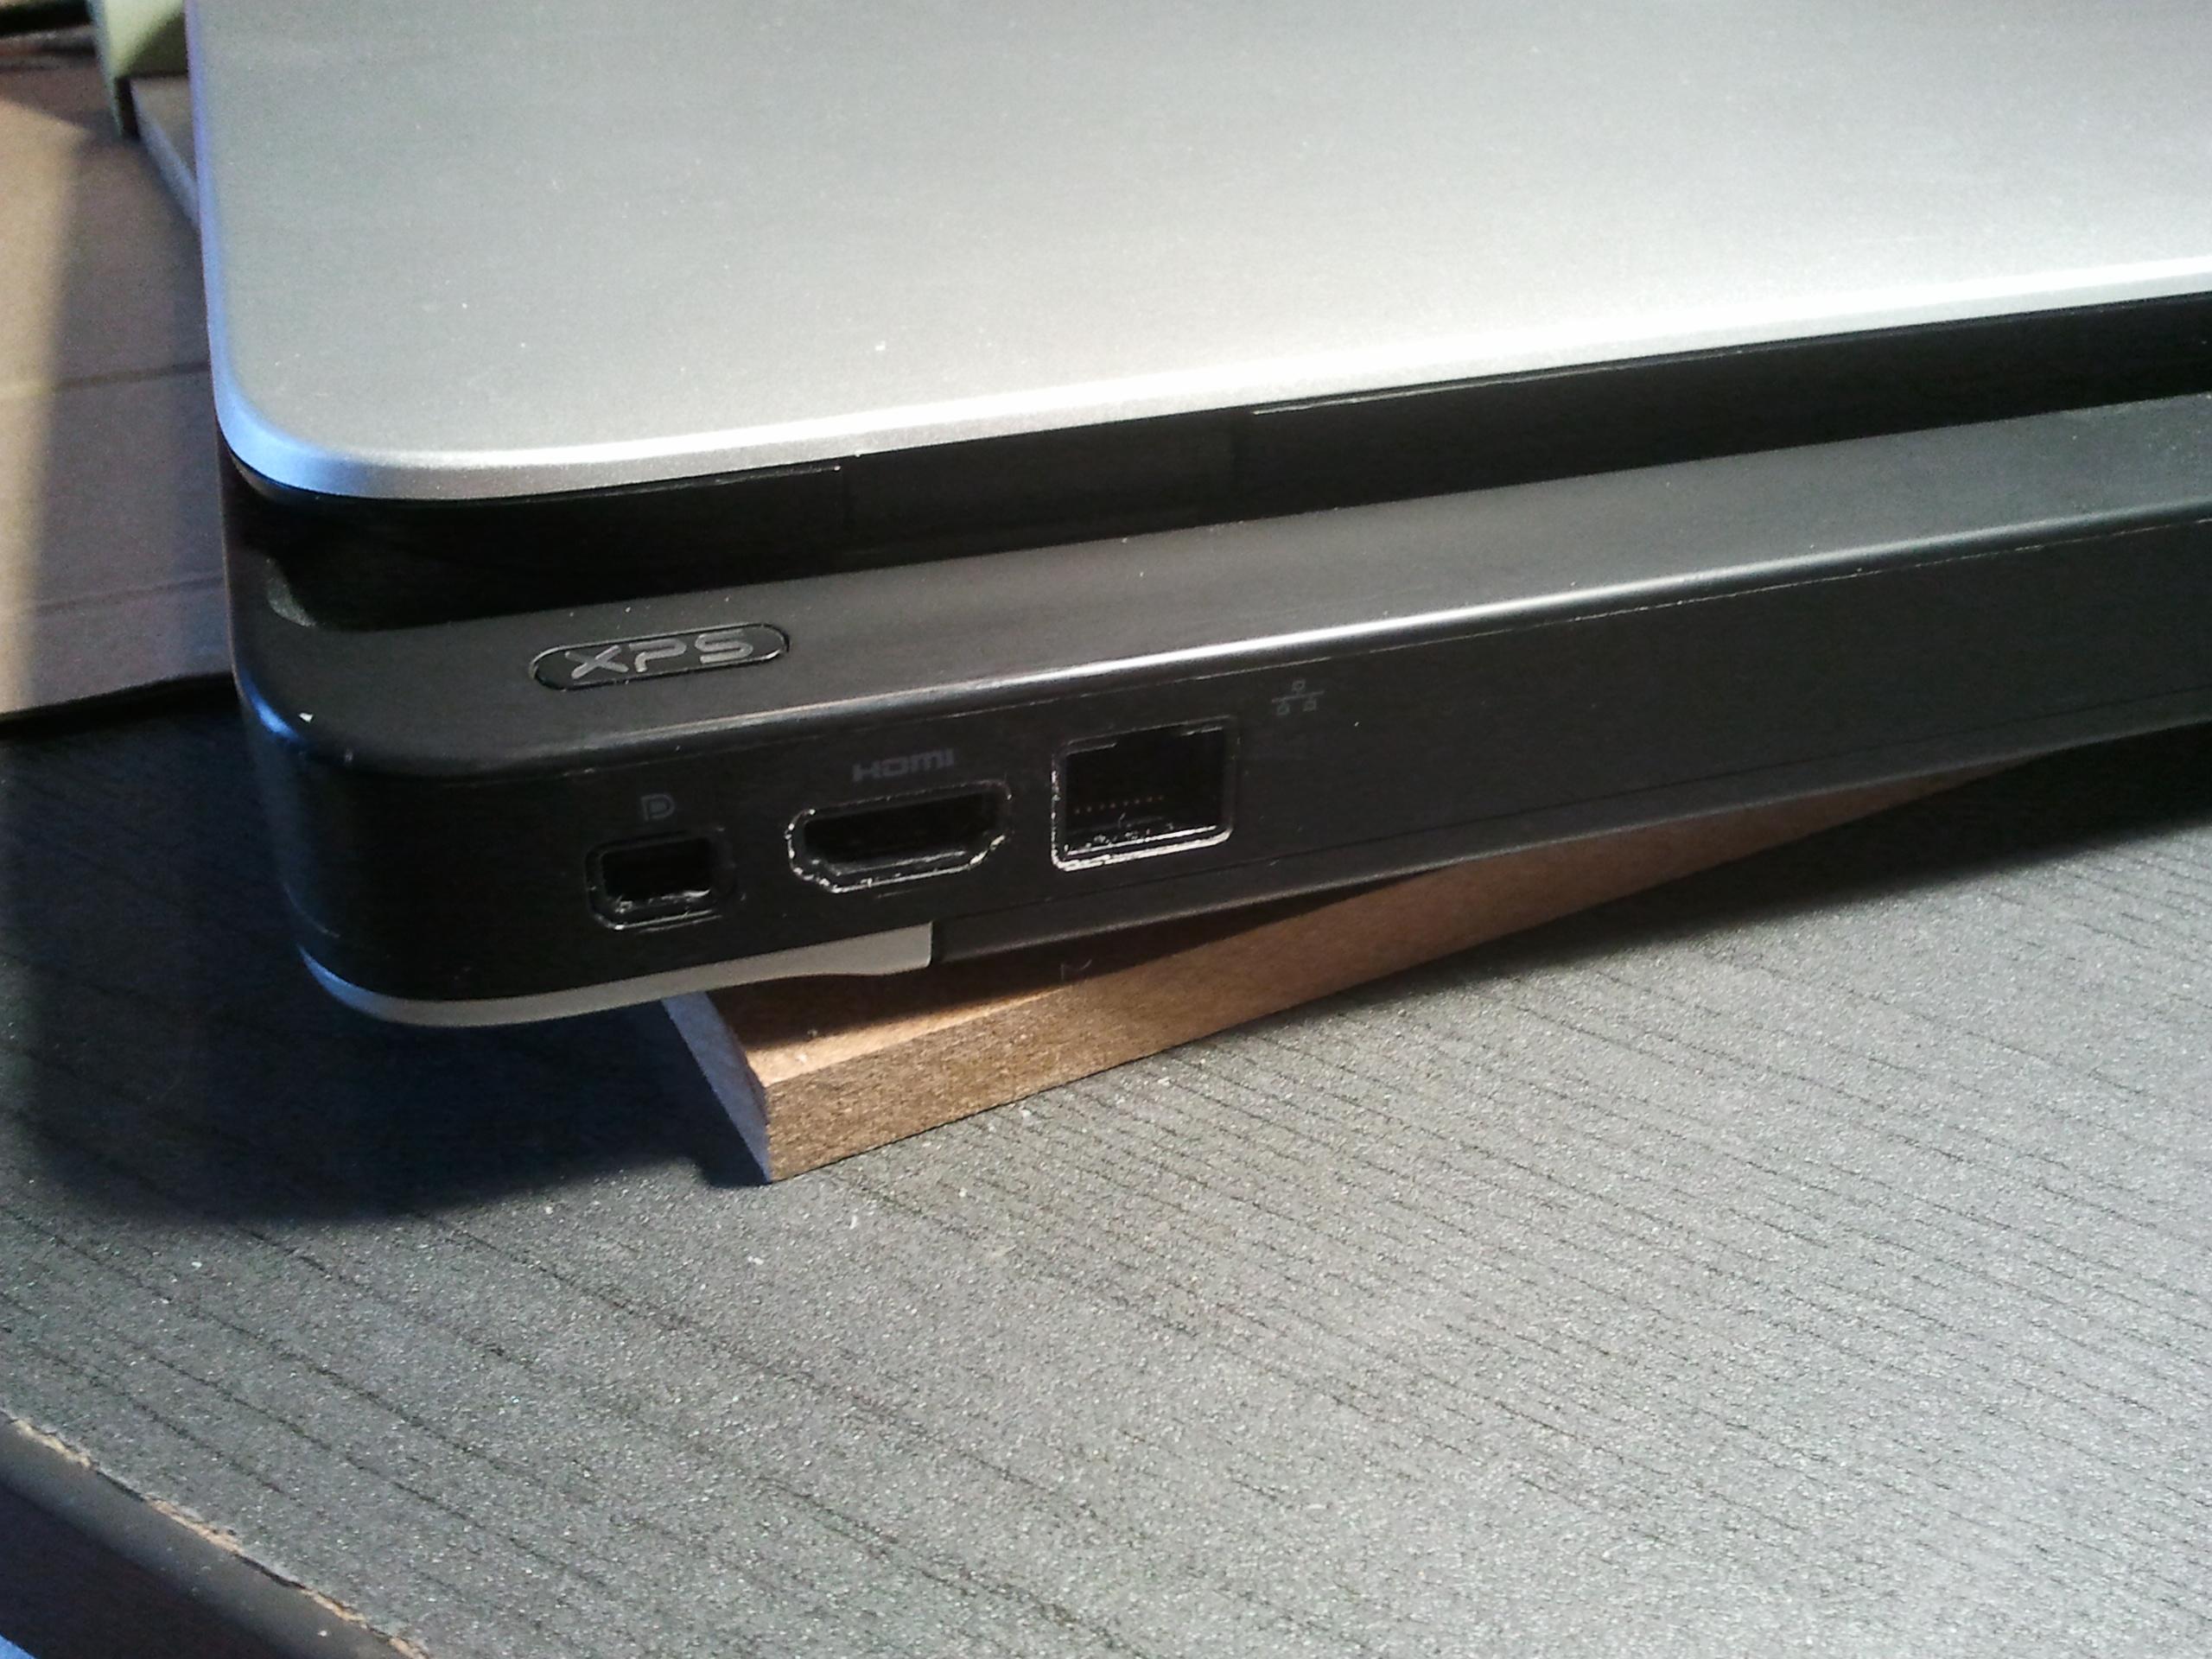
As most consumer Notebooks, my l502x has no docking connector. Thats one of many reasons i usually dont buy consumer Notebooks. Well. If one buys a gaming Notebook on a tight budget, one cant be too picky. Anyhow, all important connecters are on the rear side on this model. Both video ports, power, Ethernet and one USB3.
Thus, the idea: Plug everything in and cast resin around. The one plug that fits all holes. Um. Thaaat sounded a bit weird.
Easiest way would be to just plug all the wires in and then do the casting. But if a wire breaks, the whole thing might be useless. It seems to be better to use only short extensions or adapters of some sort.
Handling this really large and unwieldy meta-plug might be awkward. Something more resembling a docking station should be better, some kind of baseboard with a guiding to slide the notebook onto the meta-plug. Maybe even a foot ore something like that to have it stand in a decent angle, like a common notebook stand. So, the way to go, roughly outlined:
On a large baseboard build a cast form out of cardboard around the whole backside, while all the extensions are plugged in. This way, a precise positioning should be ensured. Then cast the resin and remove the form.
Additionally, one might add smaller boards to the sides of the baseboard as guides when plugging in the notebook. Alternatively, some length of flat metal can be glued to the baseboard to guide the notebooks feet.
A second, smaller board as wide as the baseboard and roughly 10cm high can be screwed in a 90 degree angle to the baseboard to give the whole contraption a nice viewing angle as a notebook stand.
Adding Sawdust to the resin gives it a nice somewhat MDF-like look and even makes it easier to work with.
Well, lets buy some stuff
- Baseboard: a piece of MDF, roughly the size of the notebook, plus a bit on back and front
- Optionally a second board, about 1cm high and as wide as the baseboard
- Extension Plugs
- USB: I was lazy and just used the cable from my USB hub. Better to find a proper extension or solder one yourself.
- Power: replacement mainboard socket and adapter for universal power supply, both from Ebay.
- Network: I had a very short extension cord, but used it elsewhere. Just used a cable then.
- Mini Displayport: adapter from mini-displayport to displayport.
- HDMI: adjustable angle extender.
- Cast form: old cardboard, preferably with a glossy side
- Resin: calculate the amount you need beforehand. I had just the right amount by shear luck.
Totals at about 25€, but ymmw. The biggest part was the resin, 100ml for around 11 Euro. You should go the extra mile and use only adapters. I will be in trouble as soon as the network cable i used is to short, and even more when my USB hub dies.
Lets go!
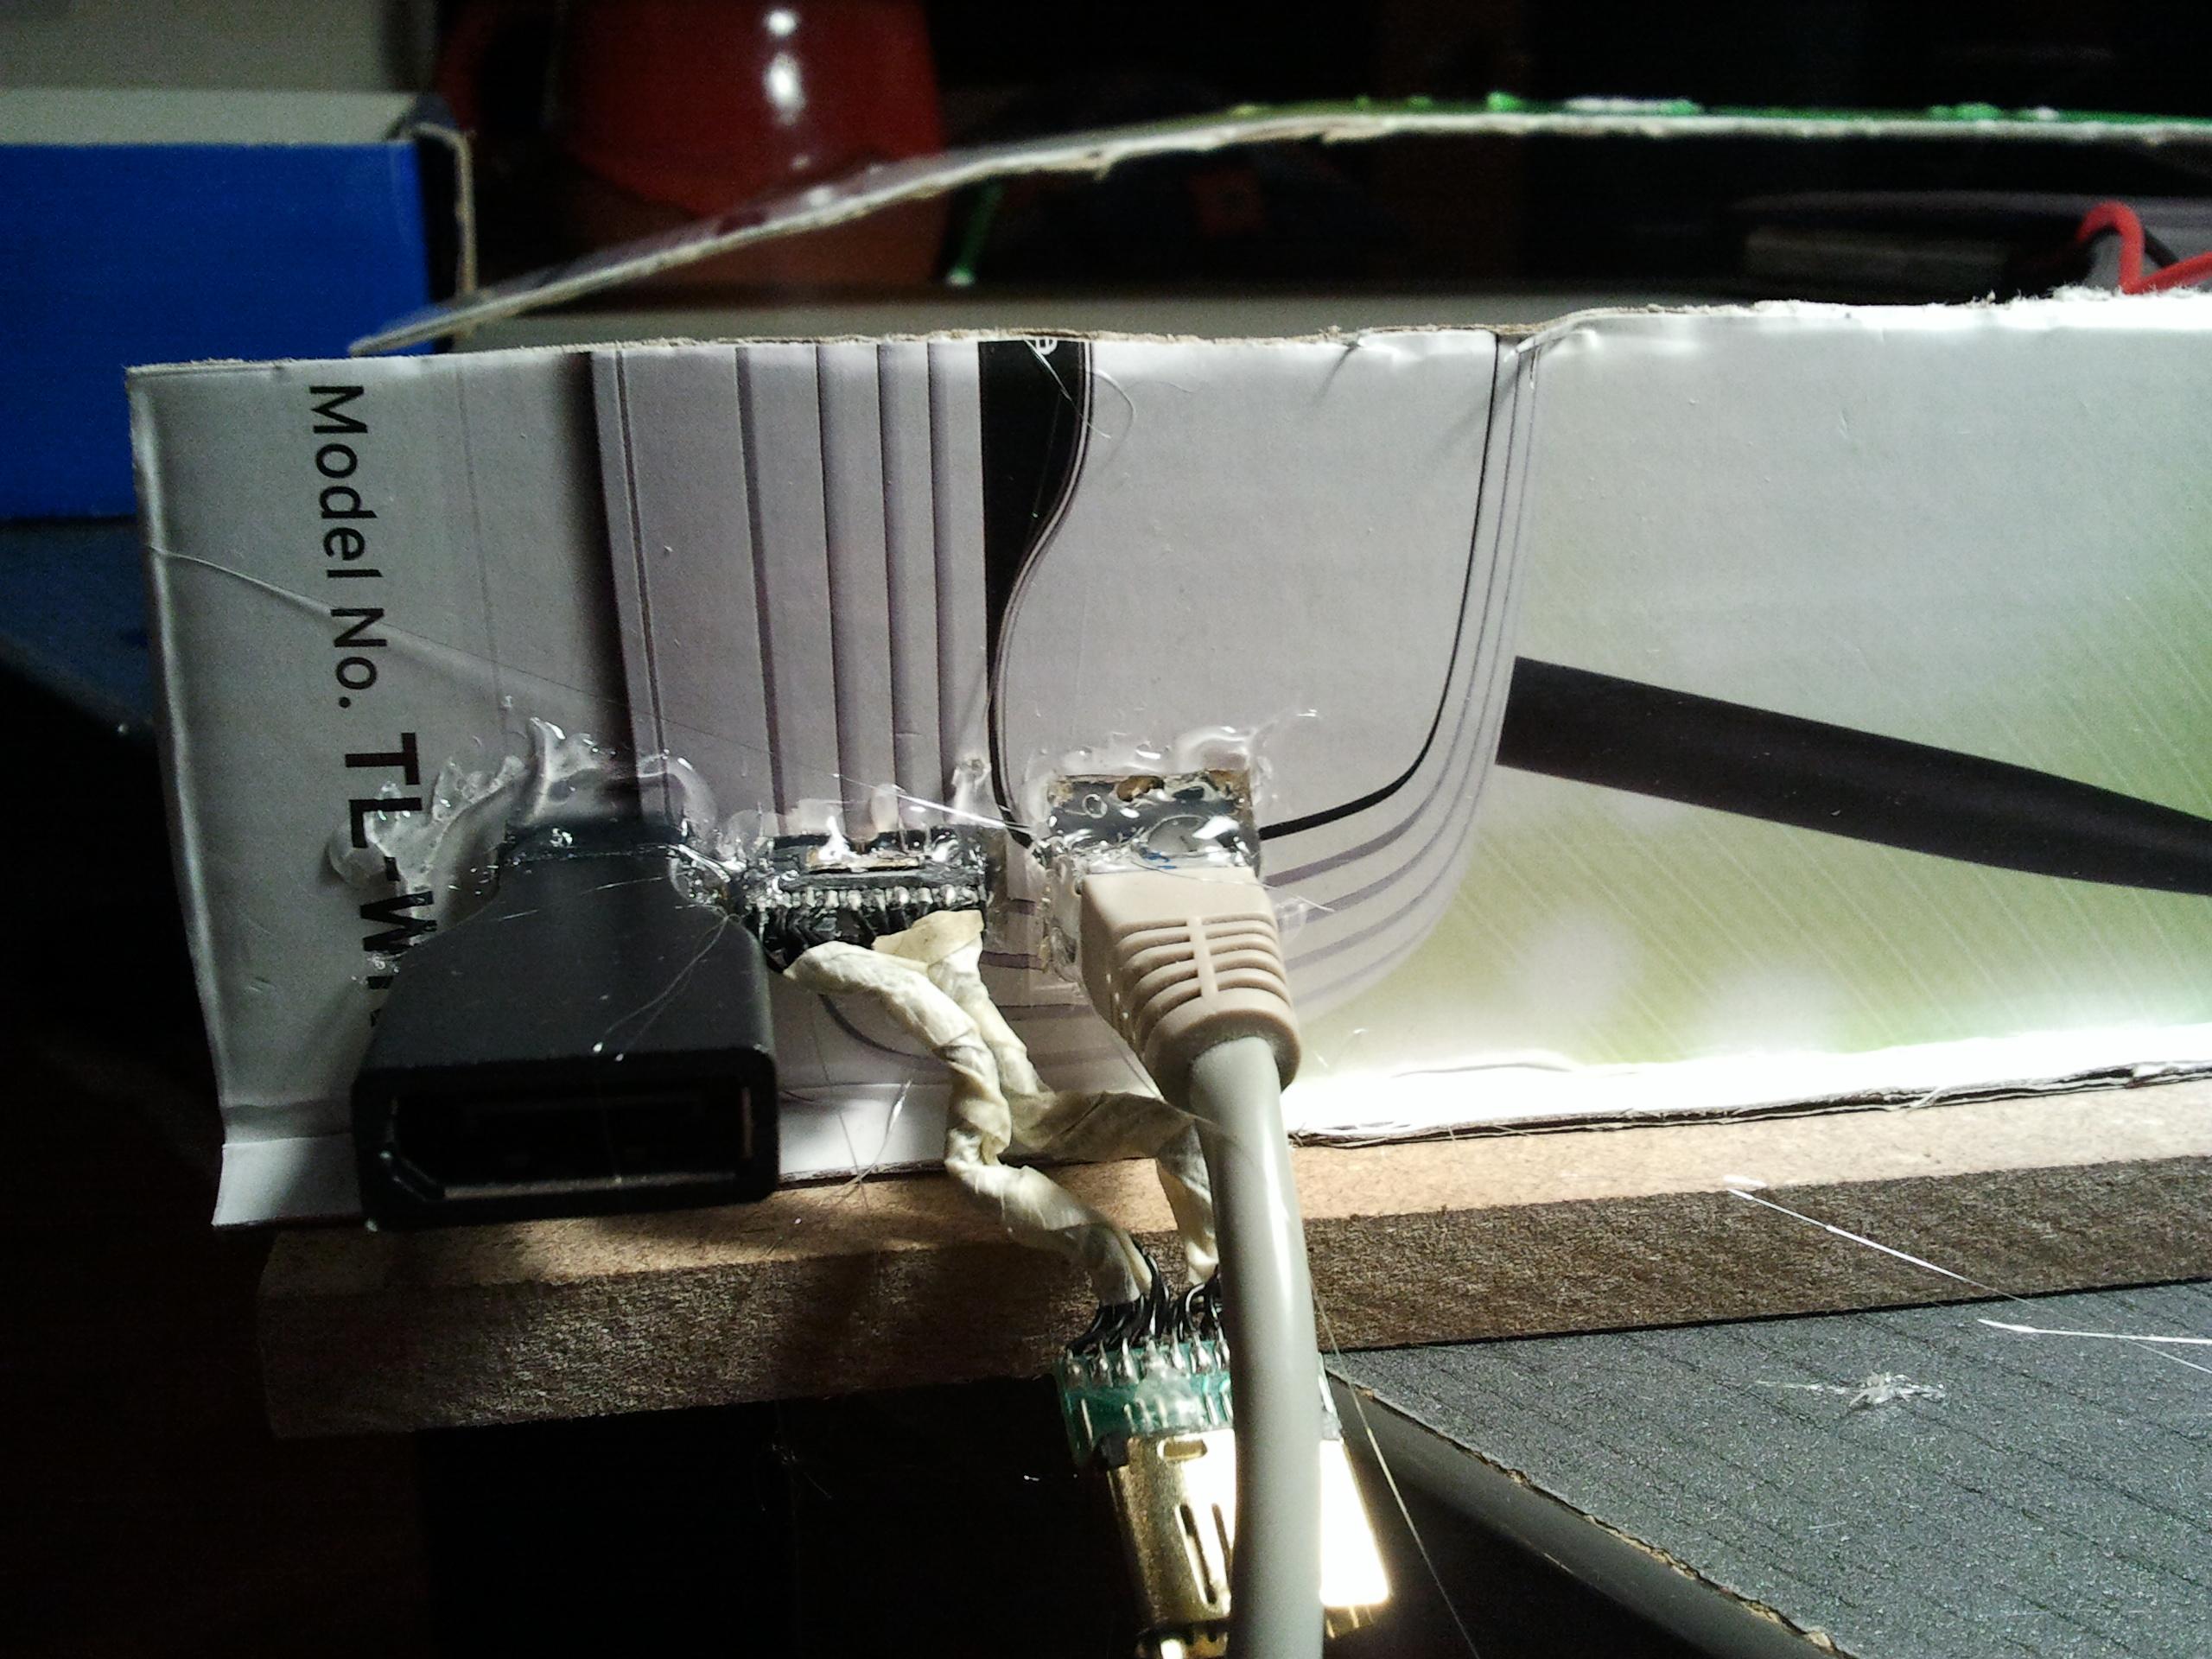
Cut a piece of cardboard, roughly as wide as the notebook and a few centimeters higher. To make sure that no resin can trickle under the notebook, fold about half a centimeter in a 90 degree angle and glue it to the baseboard (to make sure i used some nails too). Then cut holes roughly fitting all the connector and plug them in. To seal the connectors use some hot glue. A heated flathead screwdriver is a neat tool to apply hot glue in corners.
After casting the resin, the hot glue will obviously leave marks in cast. If you care about the looks, you need to find a better way.
My displayport connecter is too broad to be used alongside a solid hdmi connecter. Luckily my rotating adapter was wired inside, so i could shift the hdmi aside.
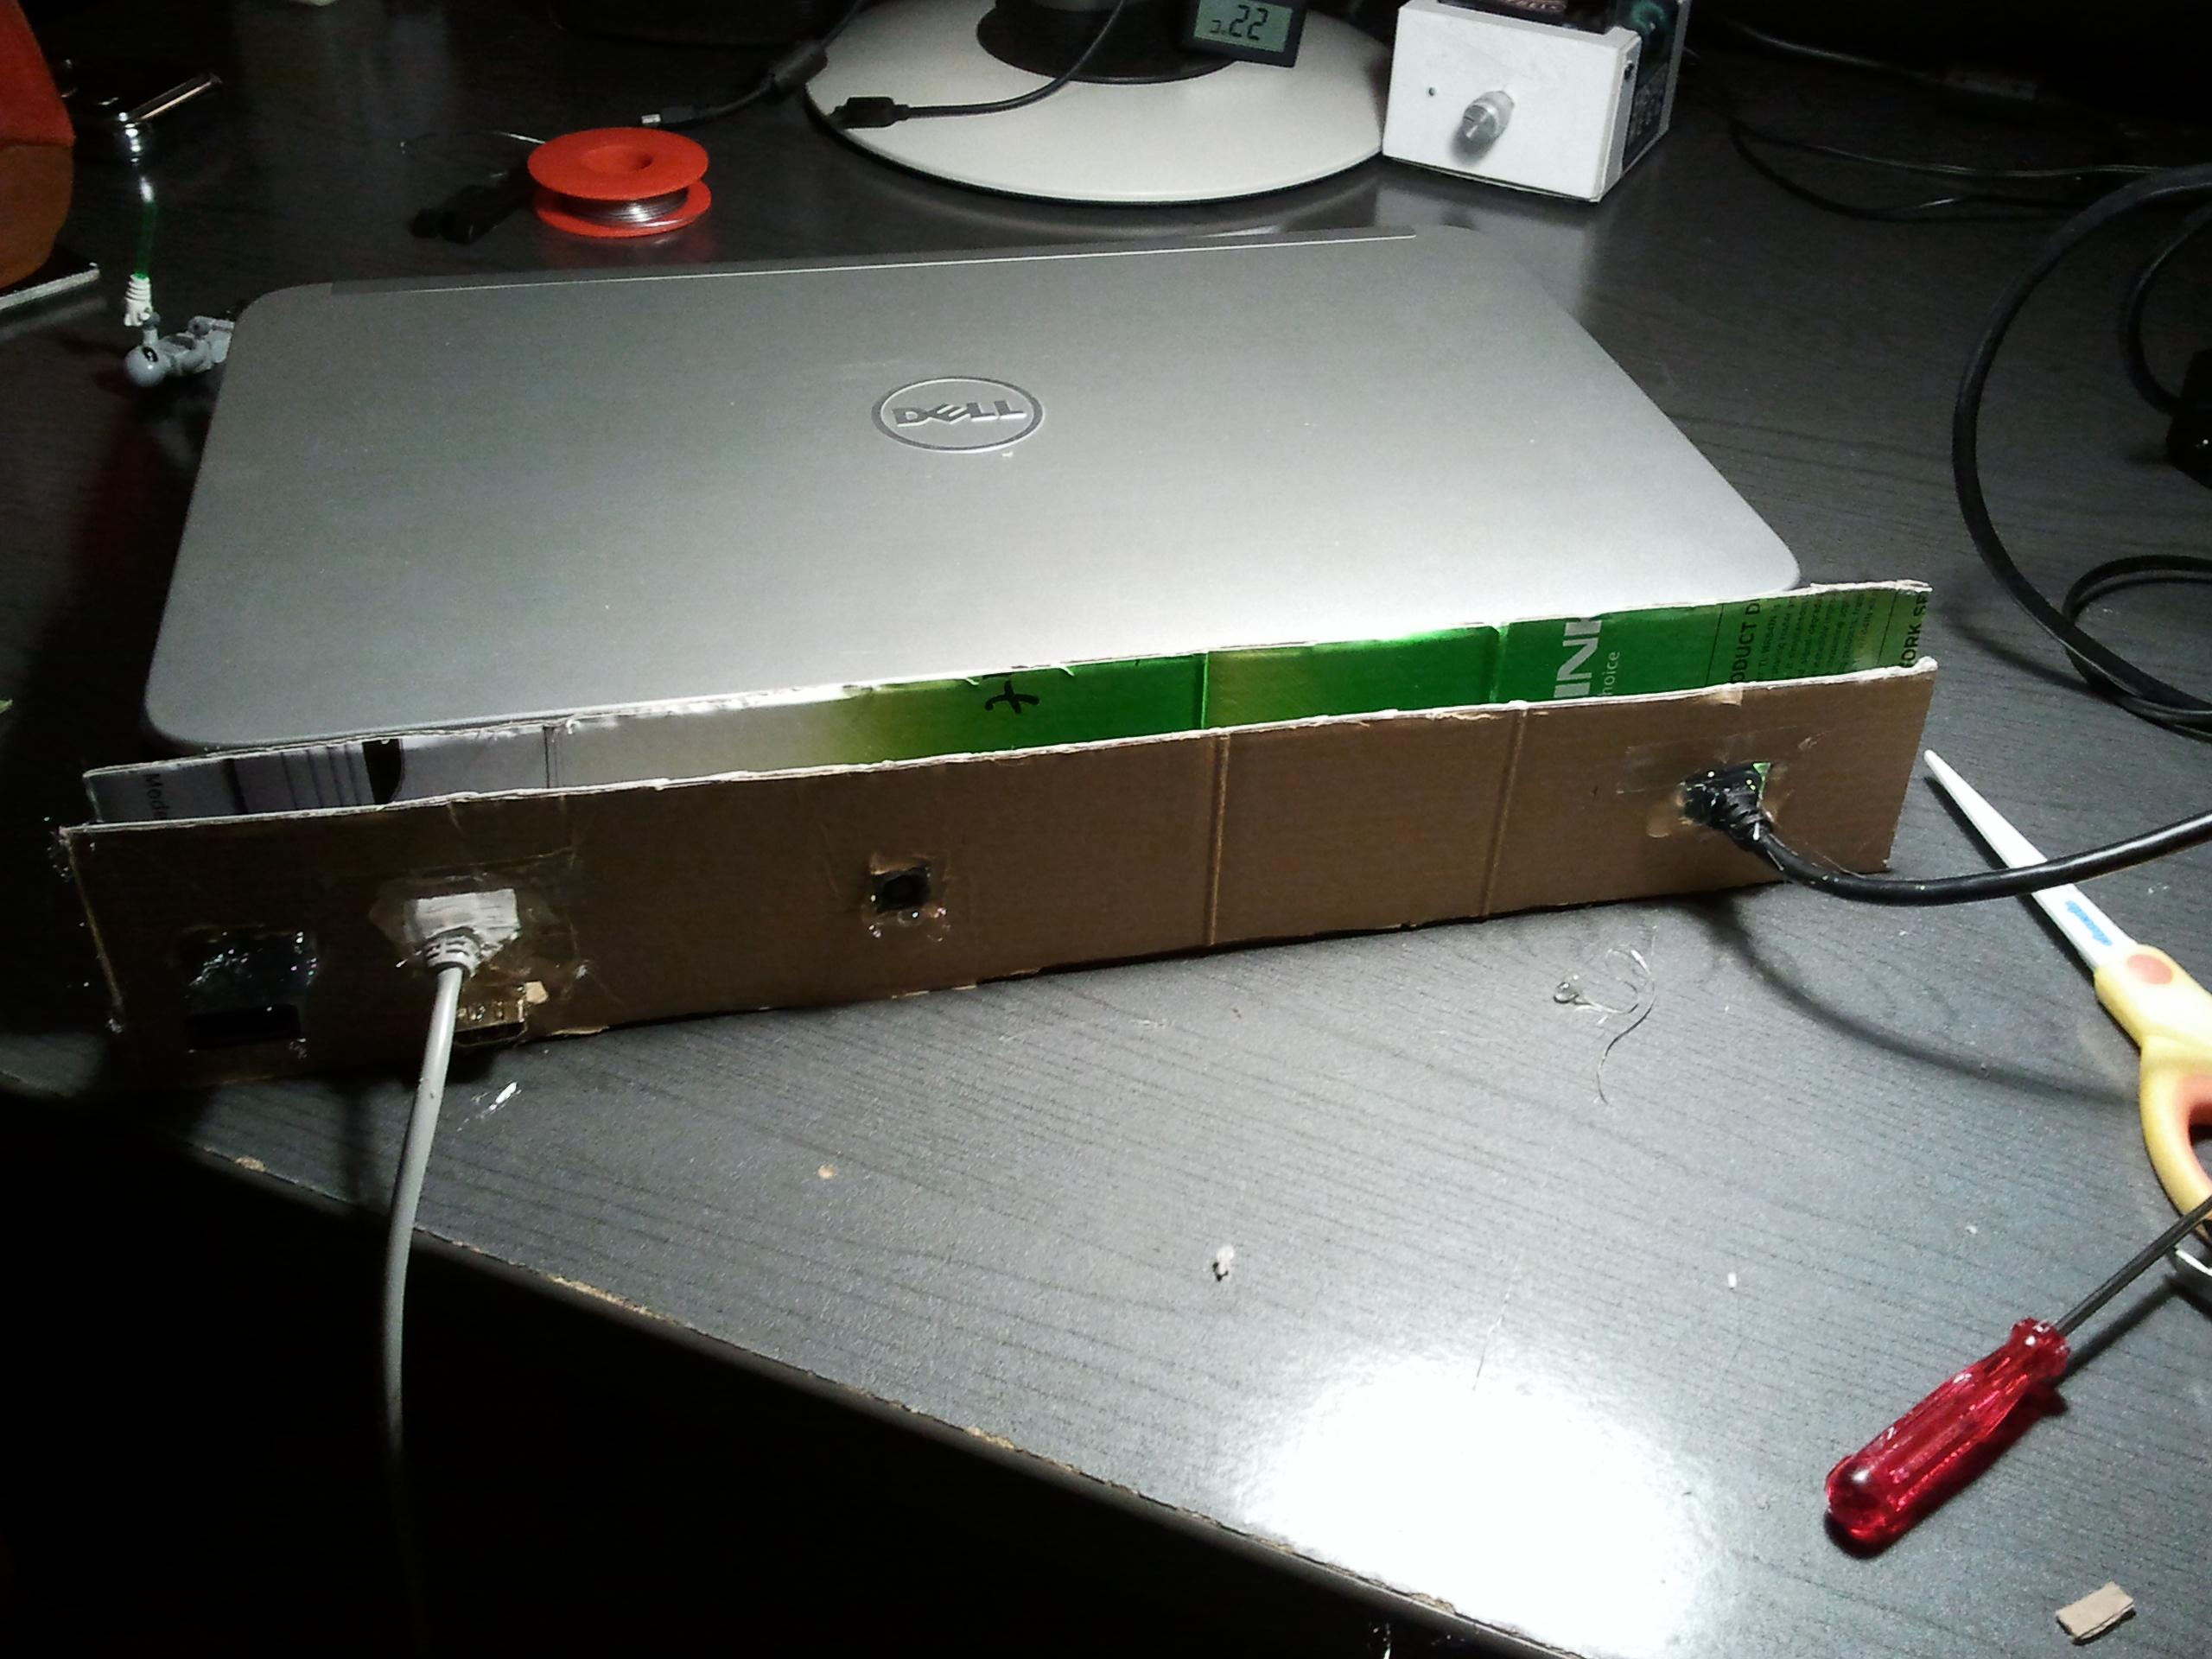
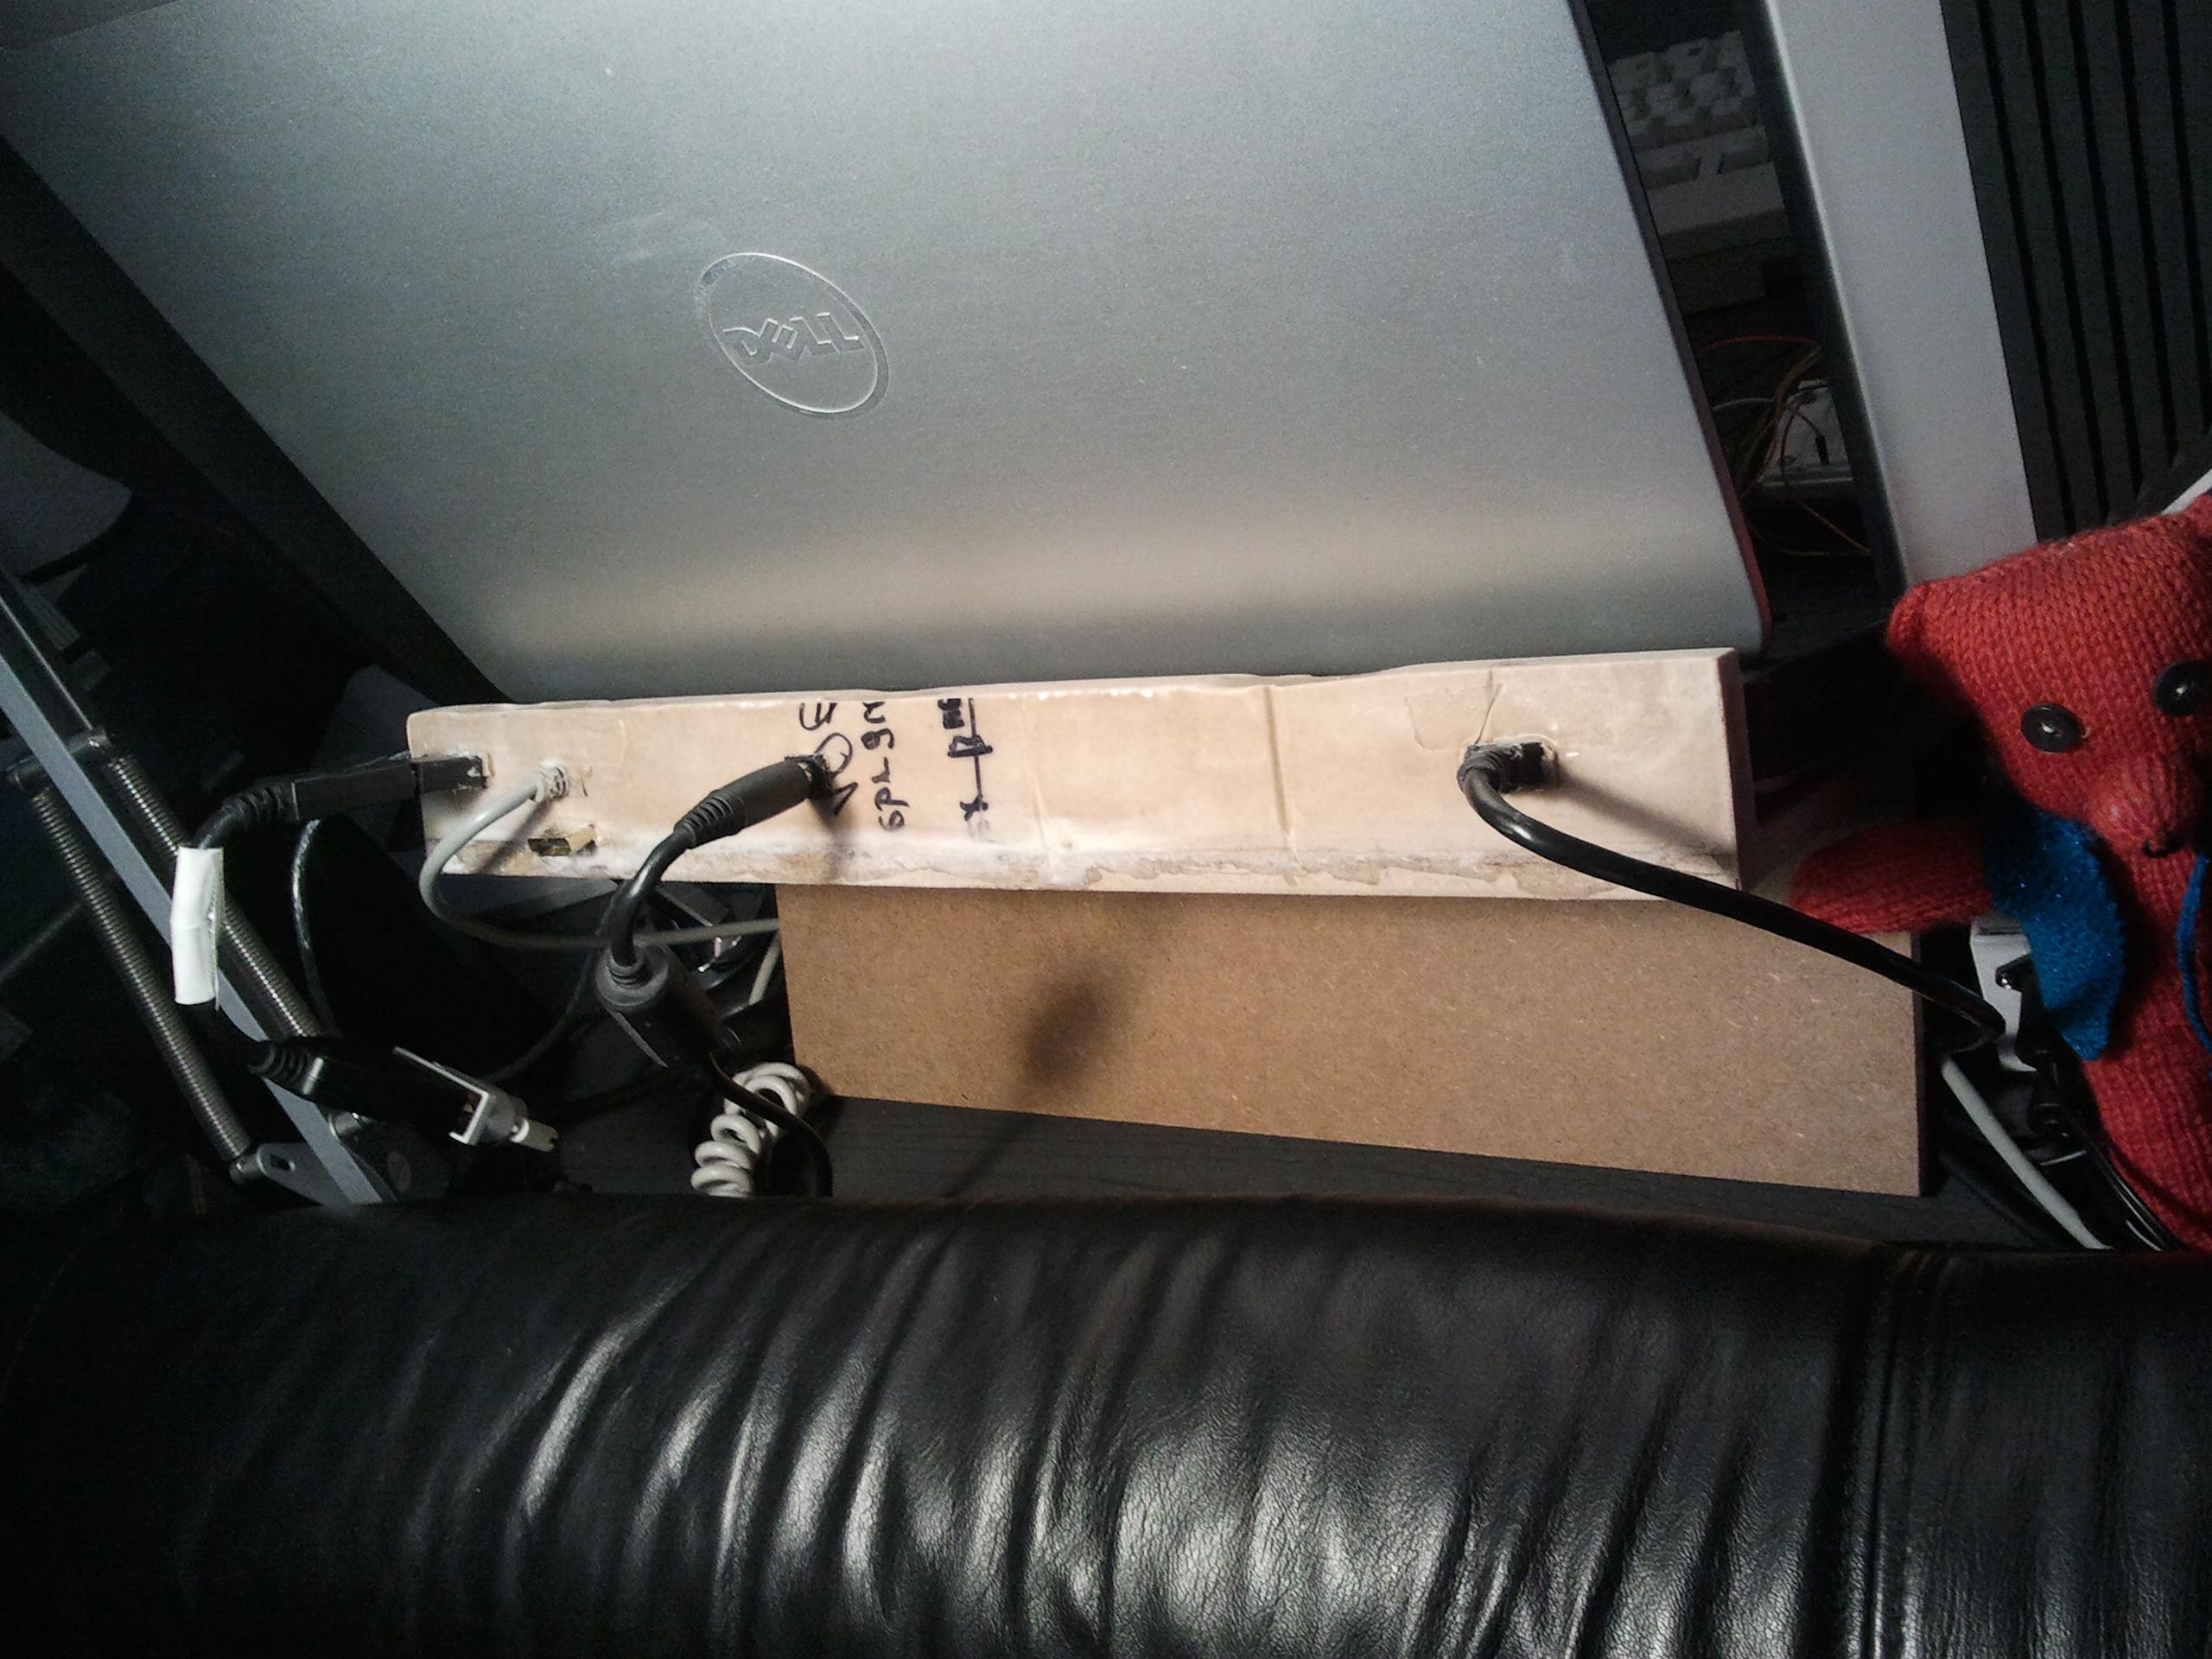
Cut another piece of cardboard for the backside. On this side i simply glued cardboard to the base. I had a bit of a trickle, but that didnt do any harm on this side. Again cut holes for all the connectors and seal them with hot glue.
This time the hot glue is outside the form, thus will leave only marks that can be filed away. While the side usually not to be seen will have some marks, the side usually to be seen can be cleaned up. Thats good enough for me.
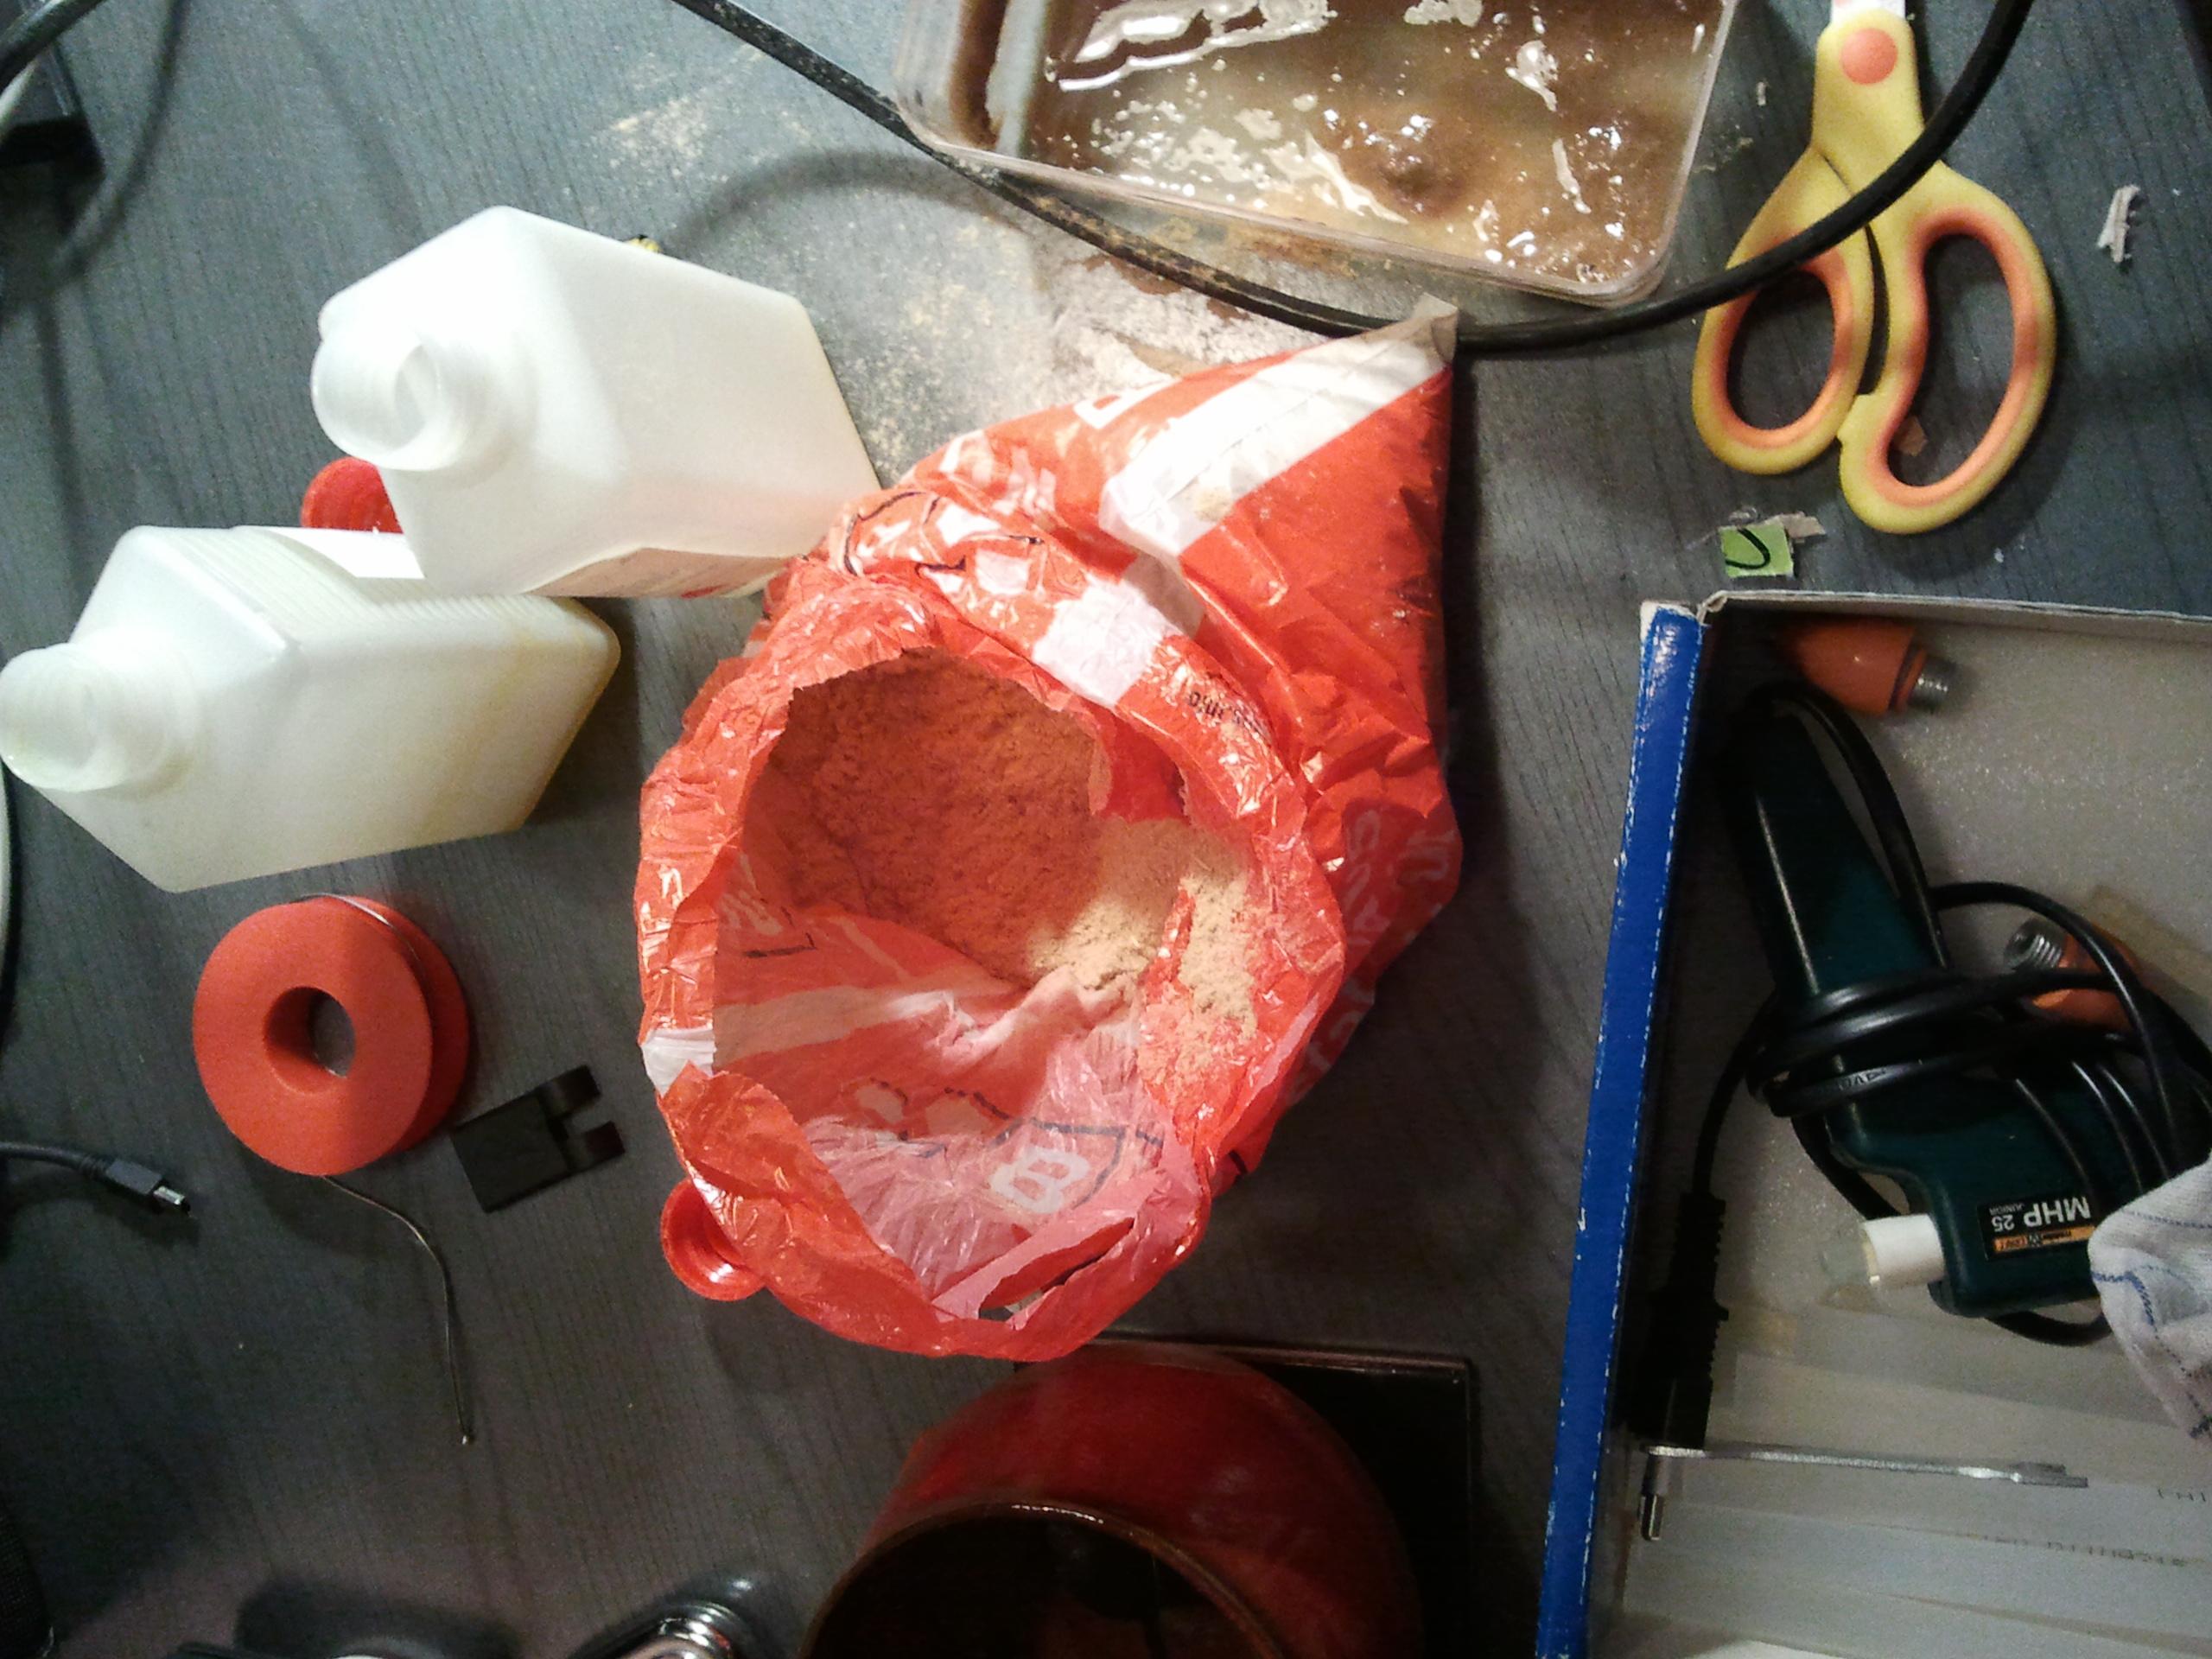
For the left and right sides just cute and glue some small pieces of cardboard. I made the form roughly one centimeter wide. Now mix the two resin components and the mixed resin with the sawdust. i had roughly a 1:1 mixture, just to get a nice gooey consistency. Hurry, the stuff cures withing 3-4 minutes up to a point where it cant be poured anymore.
Pour carefully, i nearly wasted the project i poured a good amount acros the form and my notebook. I managed to clean it up with a towel within the timeframe, but just barely.
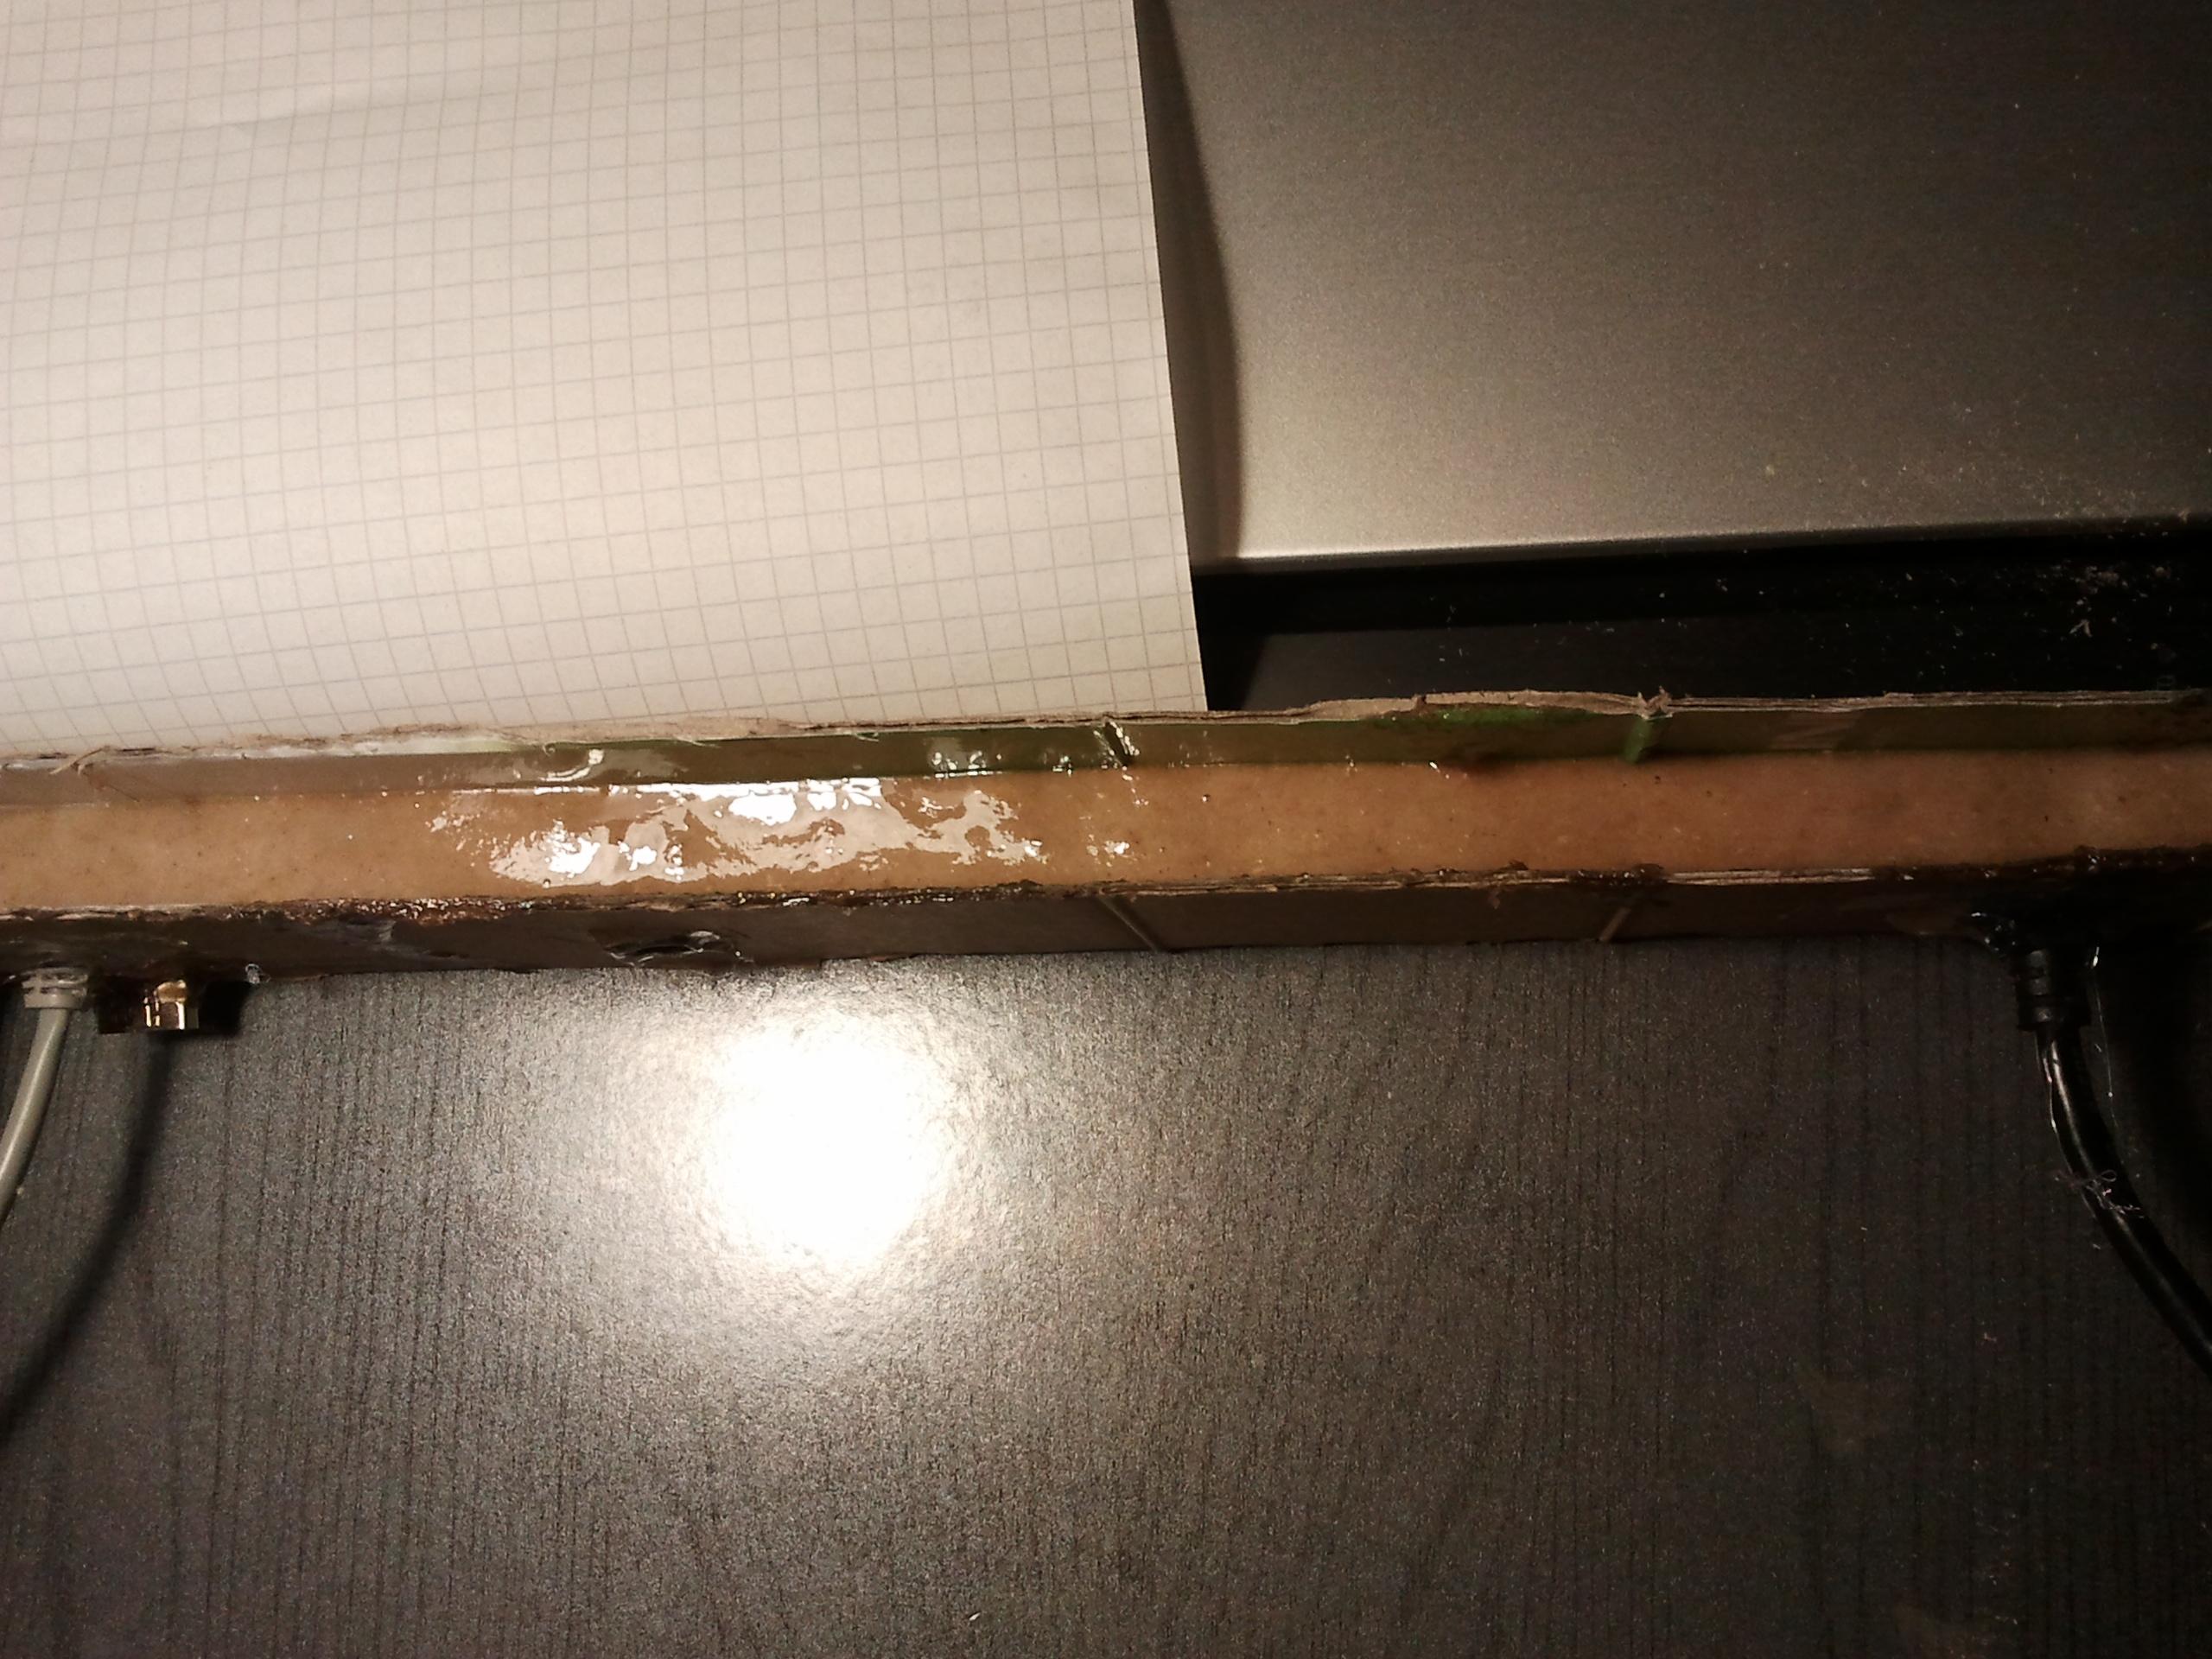
After removing the form (as i had hoped, the glossy cardboard did not stuck to the resin), scraping away the remaining hot glue and sanding everything down it looked quite nice. Except... well. Someone had written something with a marker on the box i used to cut the form. It is now transfered in astonishingly good quality the the cast. Oh, and the box was a bit short, so i foled it out before i cut the forms pieces, leaving these vertical marks from the folds. Im ok with the result. A bit more care would have helped, though.
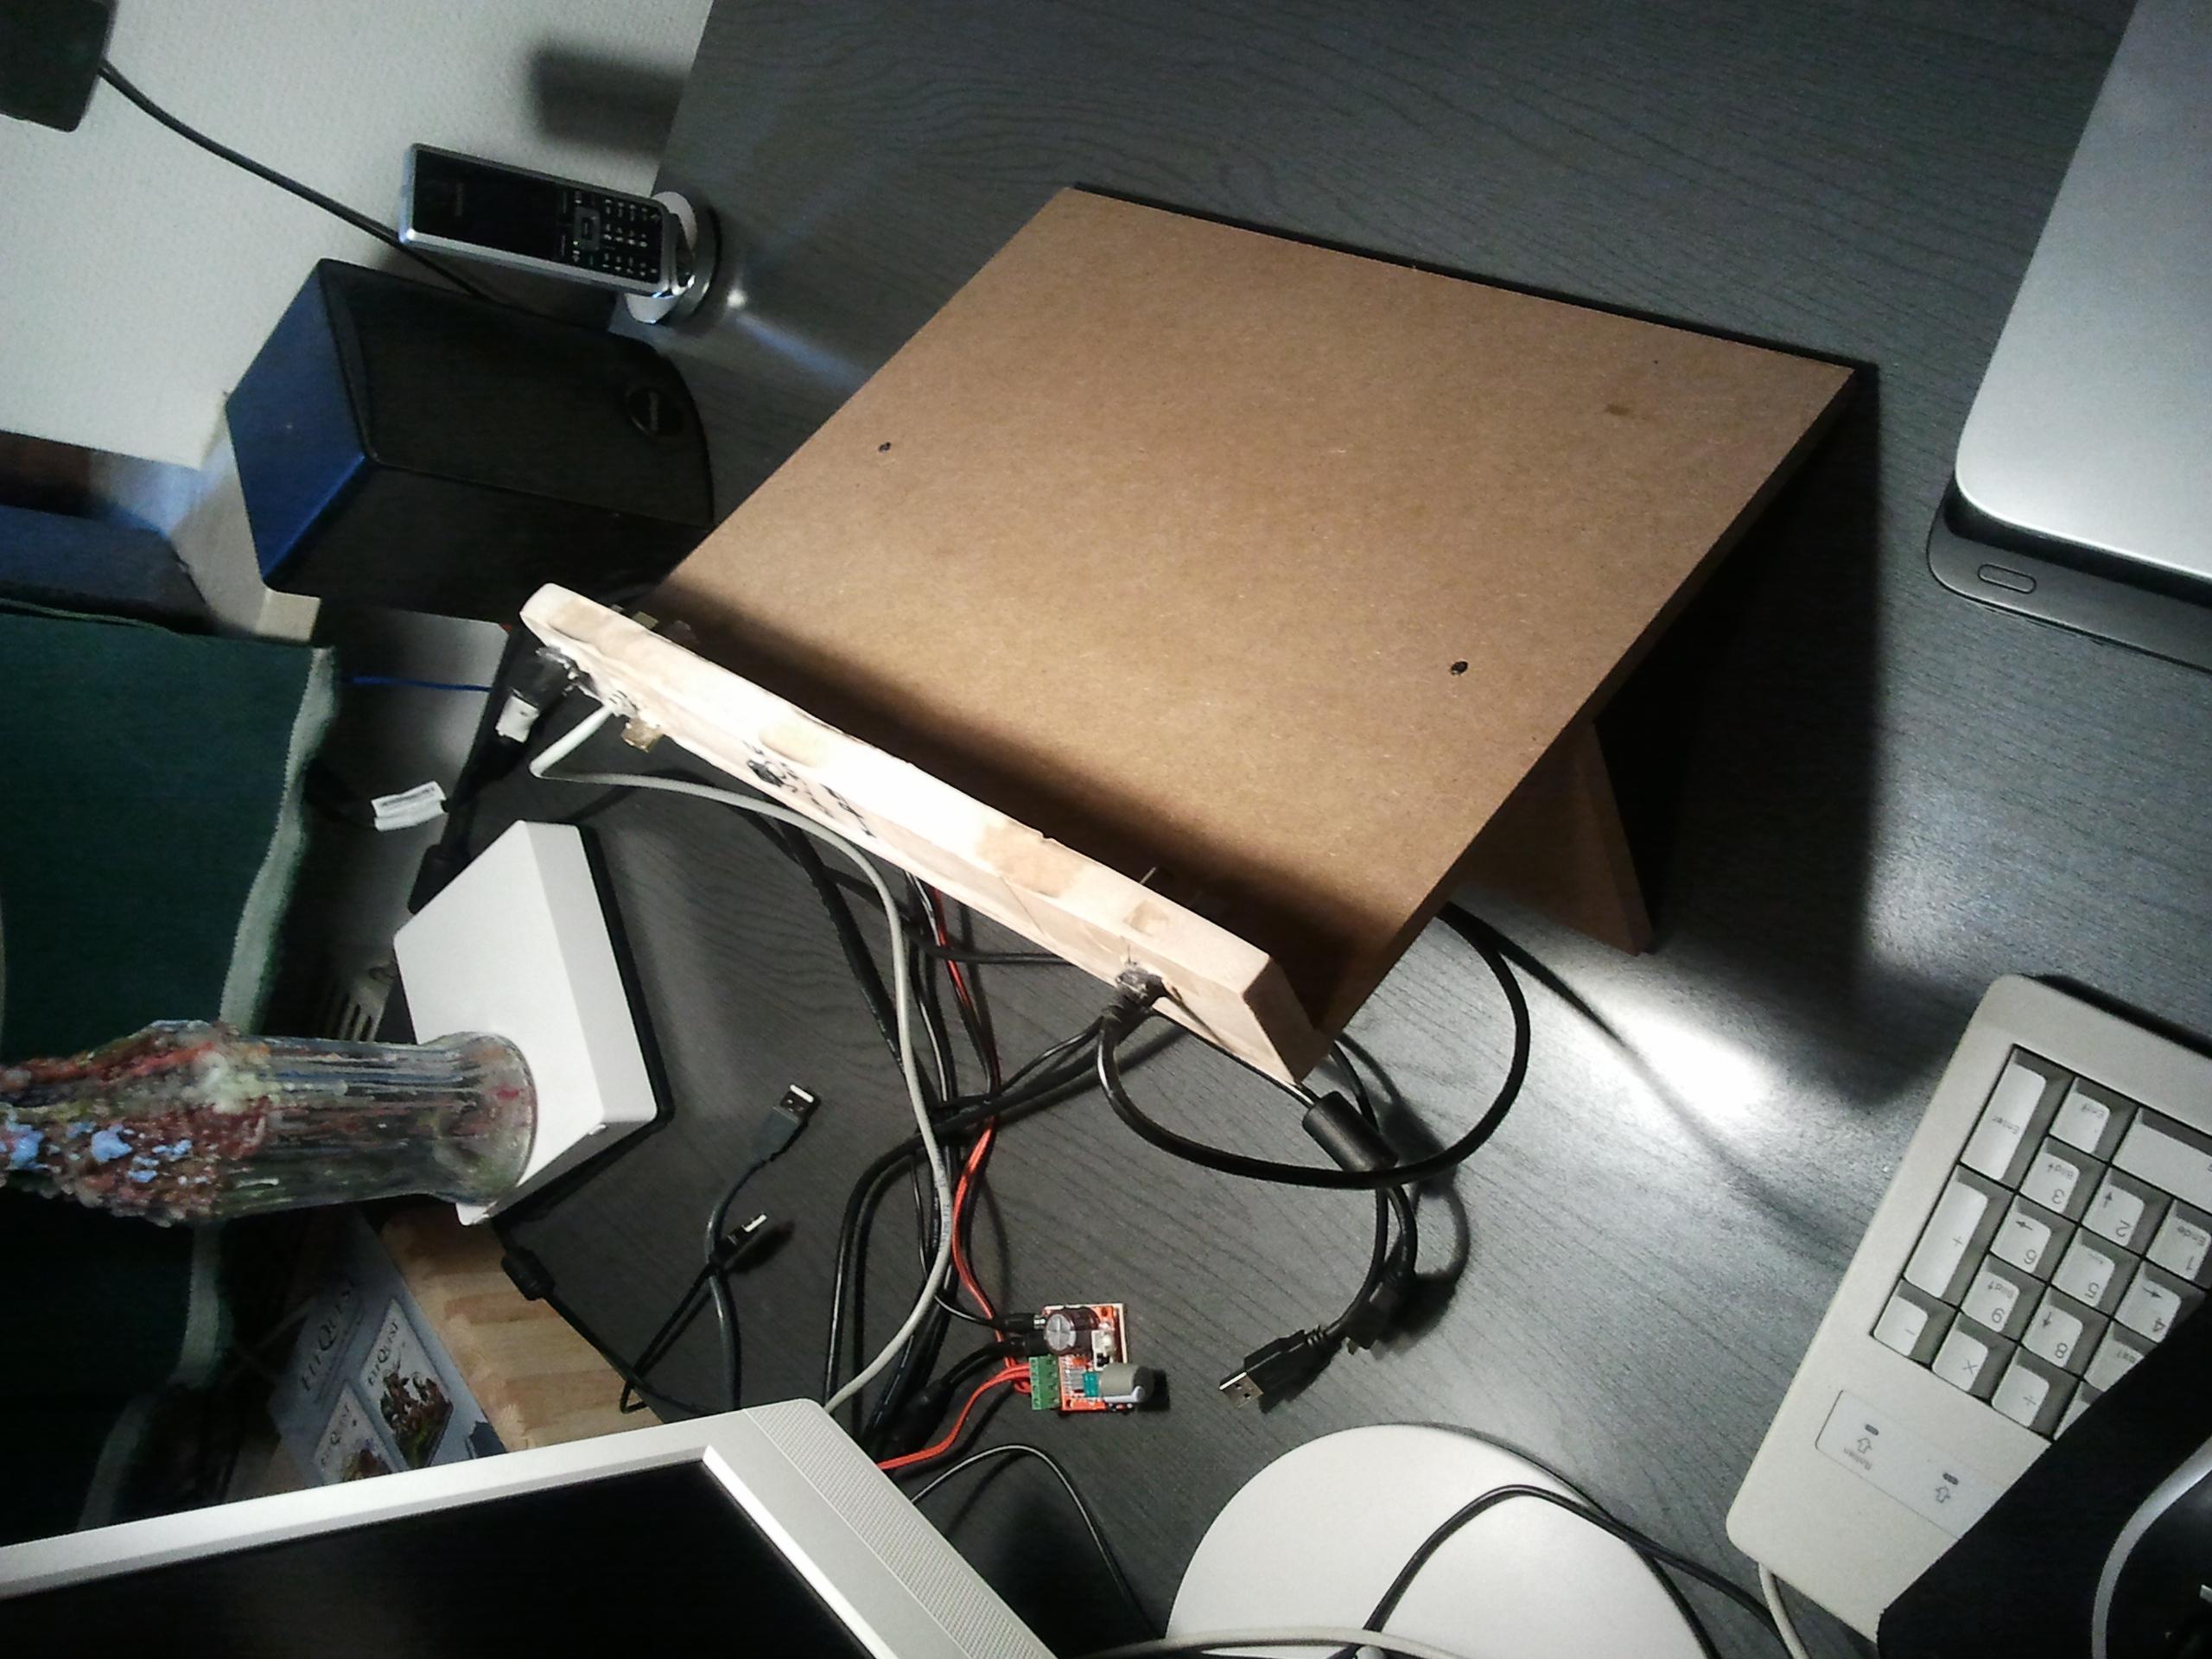
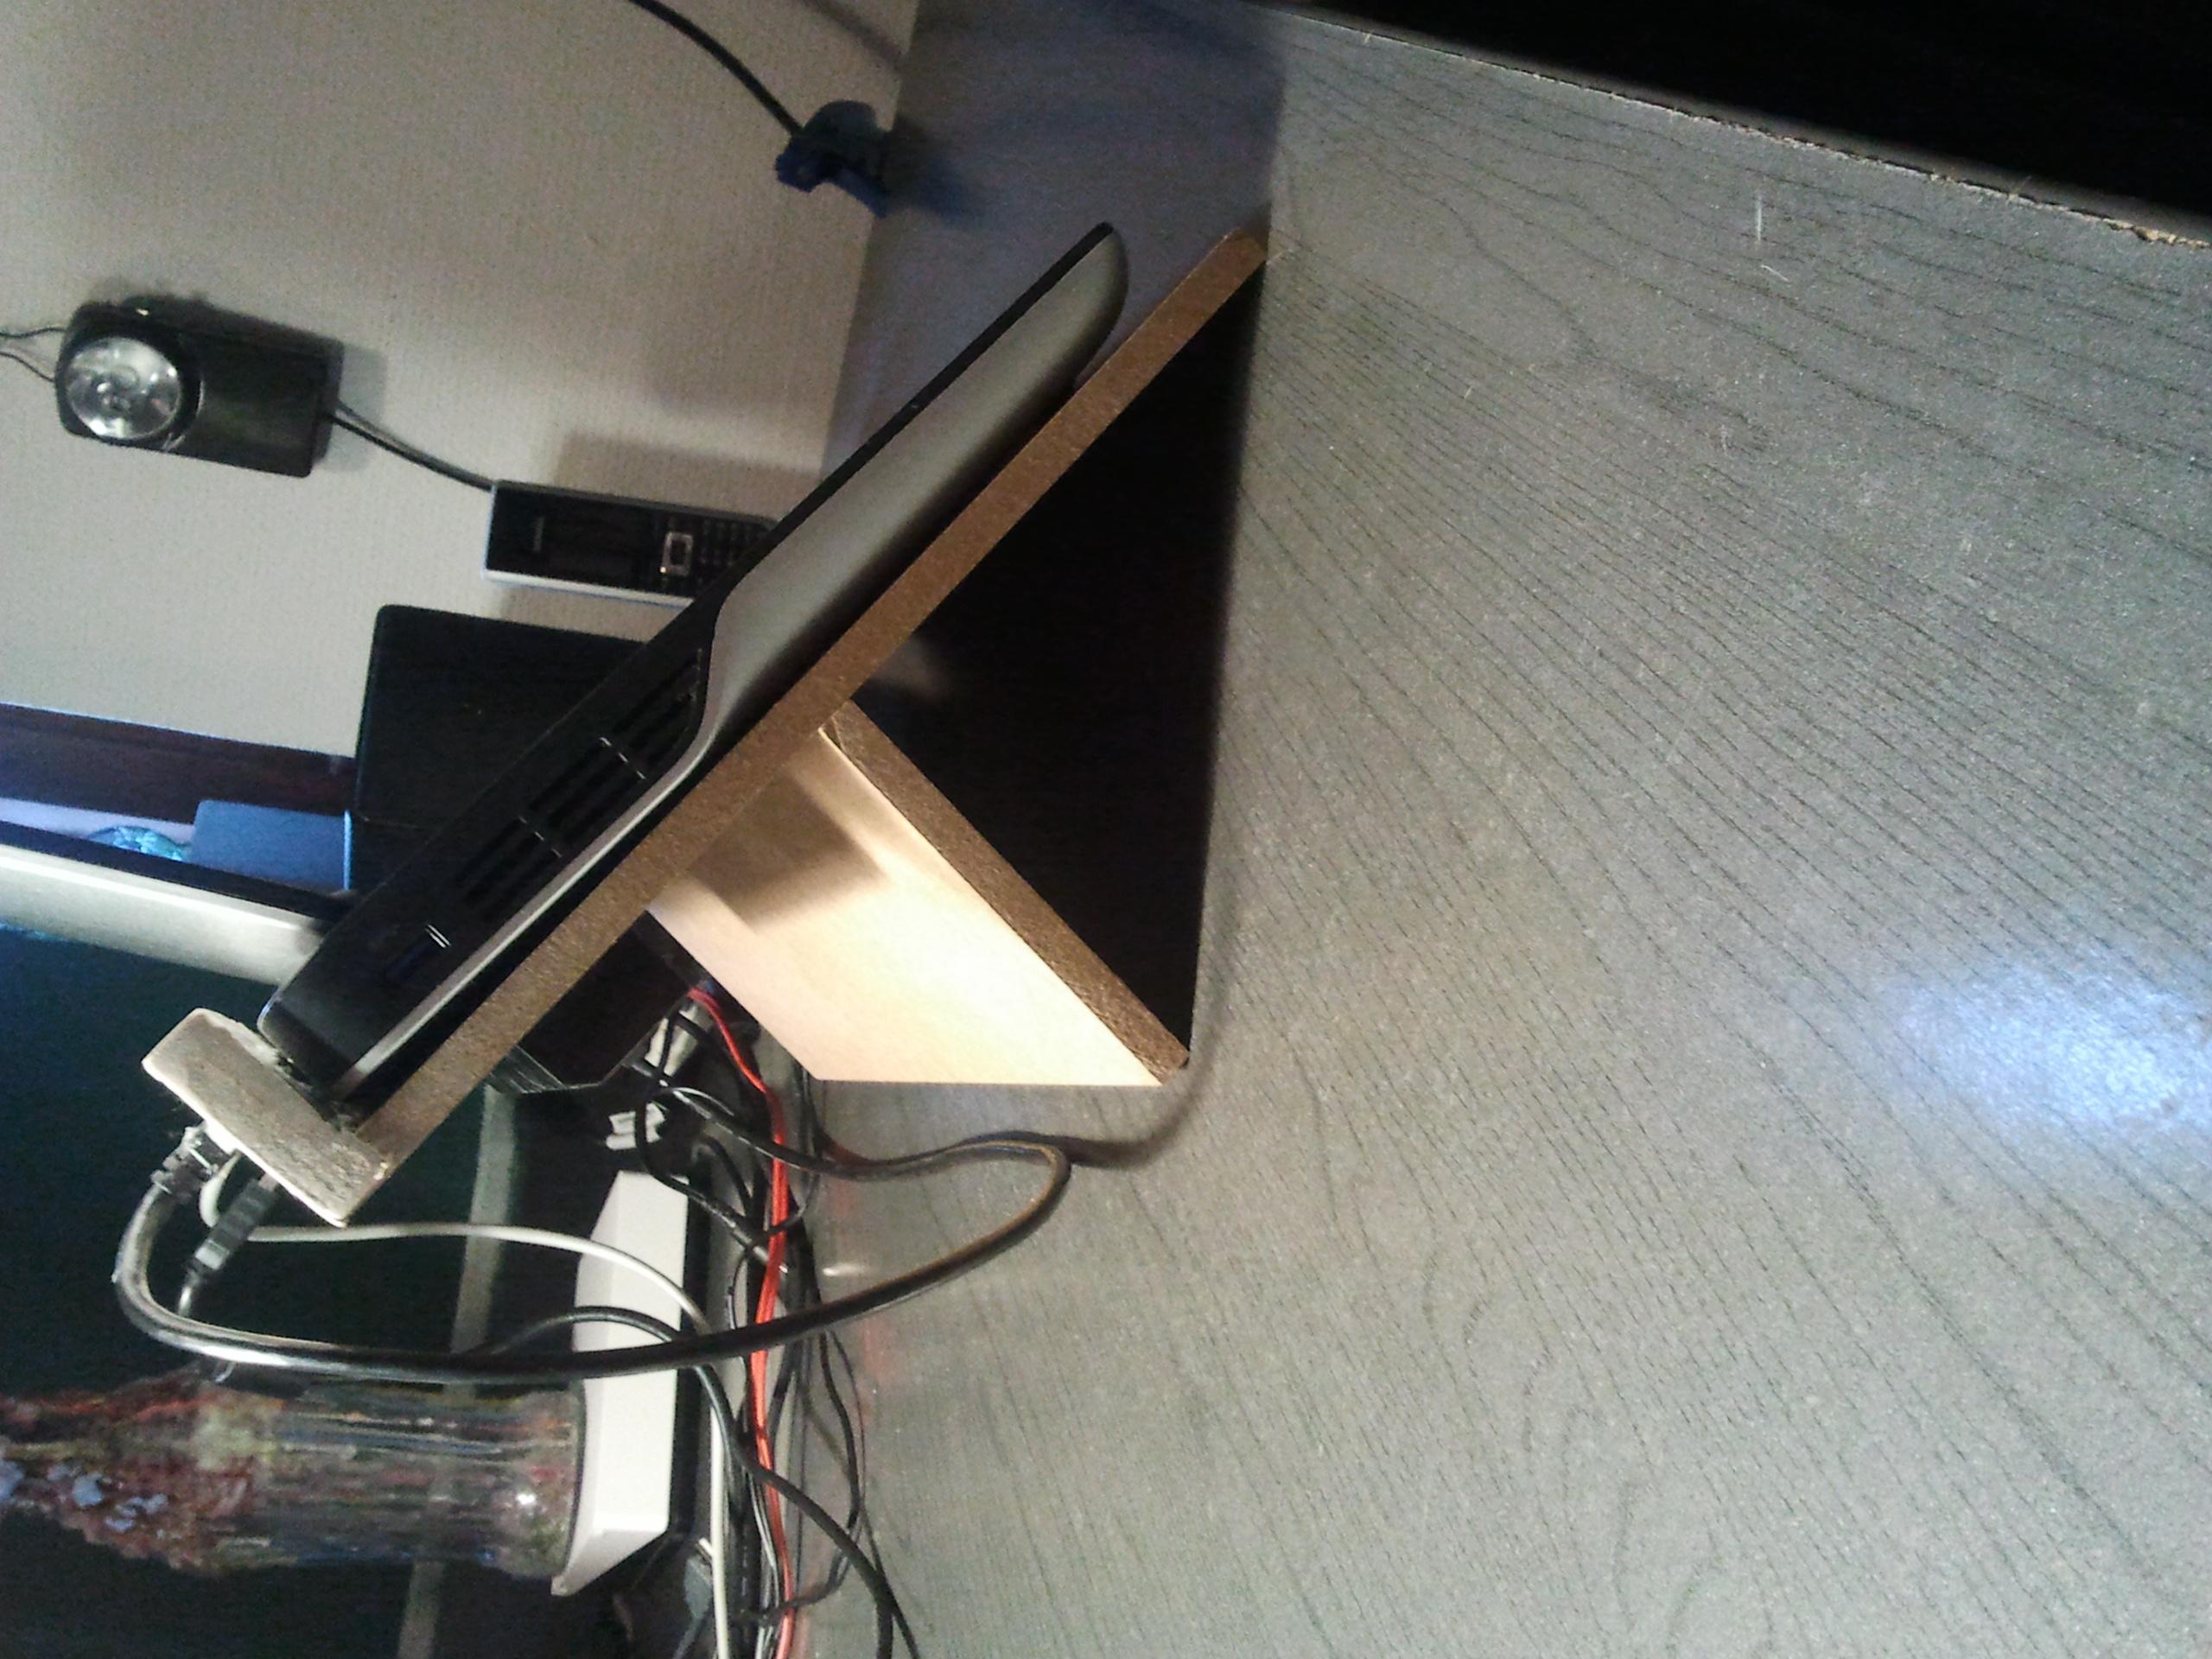
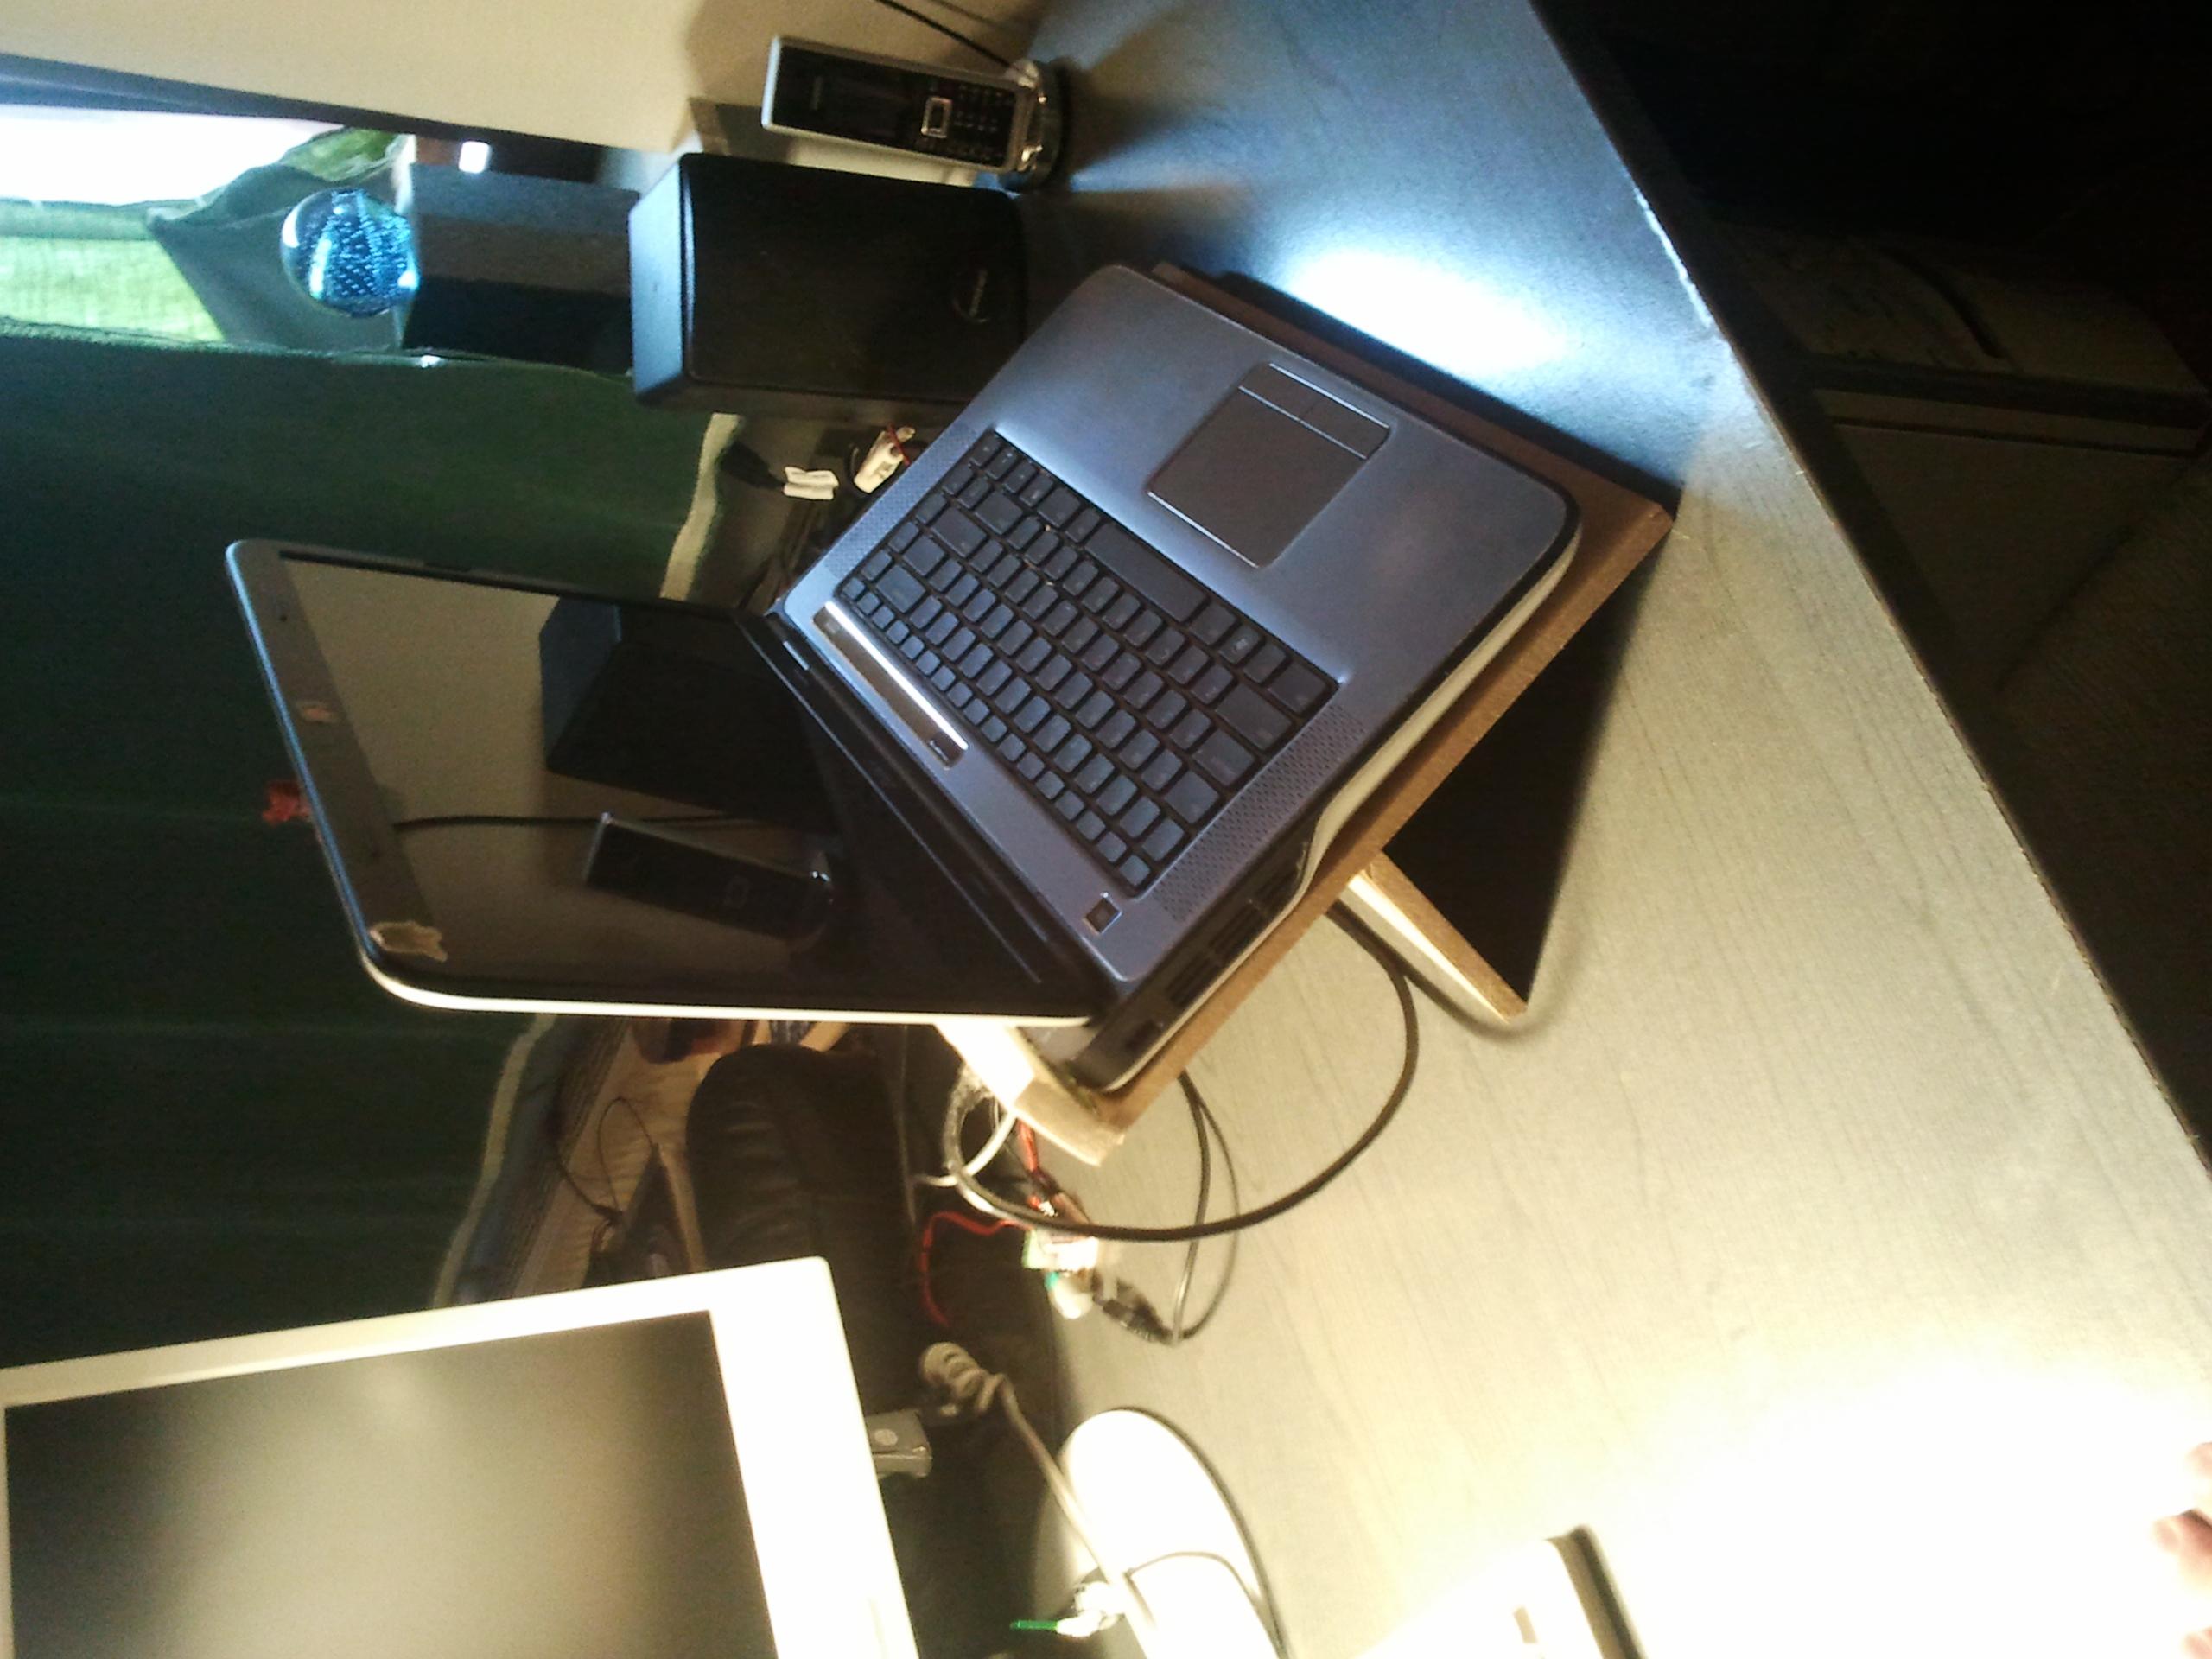
When done, just hold the other piece of MDF to the backside of the base so that it forms o foot. Slide it up and down, until the viewing angle is sound, then screw it into place.
I also glued the USB hub under the rear end. Cables can be hid and guided under the triangled shape of the foot.
I did not add any guides now, but i intend to later. Its bit finicky to mount the notebook without.
Some Notes
As i said. Be double super extra extreme ultra totally uber sure to seal everthing good! Wait until the resin is hard to the touch, around 20 minutes for the one i had, and remove the notebook. Even if there is some resin poured out, you should be able to pry it free with only a little force. Dont wait until the resin is fully hardened!
If you managed to bodge the sealing (like me), use alcohol and a towel to dampen the stains. Then you need a special tool, hard enough to remove the not fully cured resin, soft enough to stop it from damaging the plastic. You probably have some at hand. Literally. Fingernails are great for the job. Good thing i forget to trim mine the last couple of days.
Maybe better wrap the backside of your notebook in cling film. Just press the plugs through the film. You might have to remove some remains of the foil out of the plugs, but thats easier than removing resin remains. Or maybe use candle wax.
Better wrap the flap of the first cardbord side under the notebook instead of in the form. I losed half of the contact surface this way. I think i will need scratch out the cardboard flap from under the cast, and fill the notch with more resin. Maybe you should even hammer some nails halfway in the board, to provide additional grip for the cast. I have to drill holes and use screws now.
While the cardboard peeled of pretty nicely due to its glossy lamination, you probably should cover it in candle wax (or such) to make sure. Dont use pieces with notches like i did. Oviously, they will show up as negatives in the cast. Man, how did i manage to miss that?
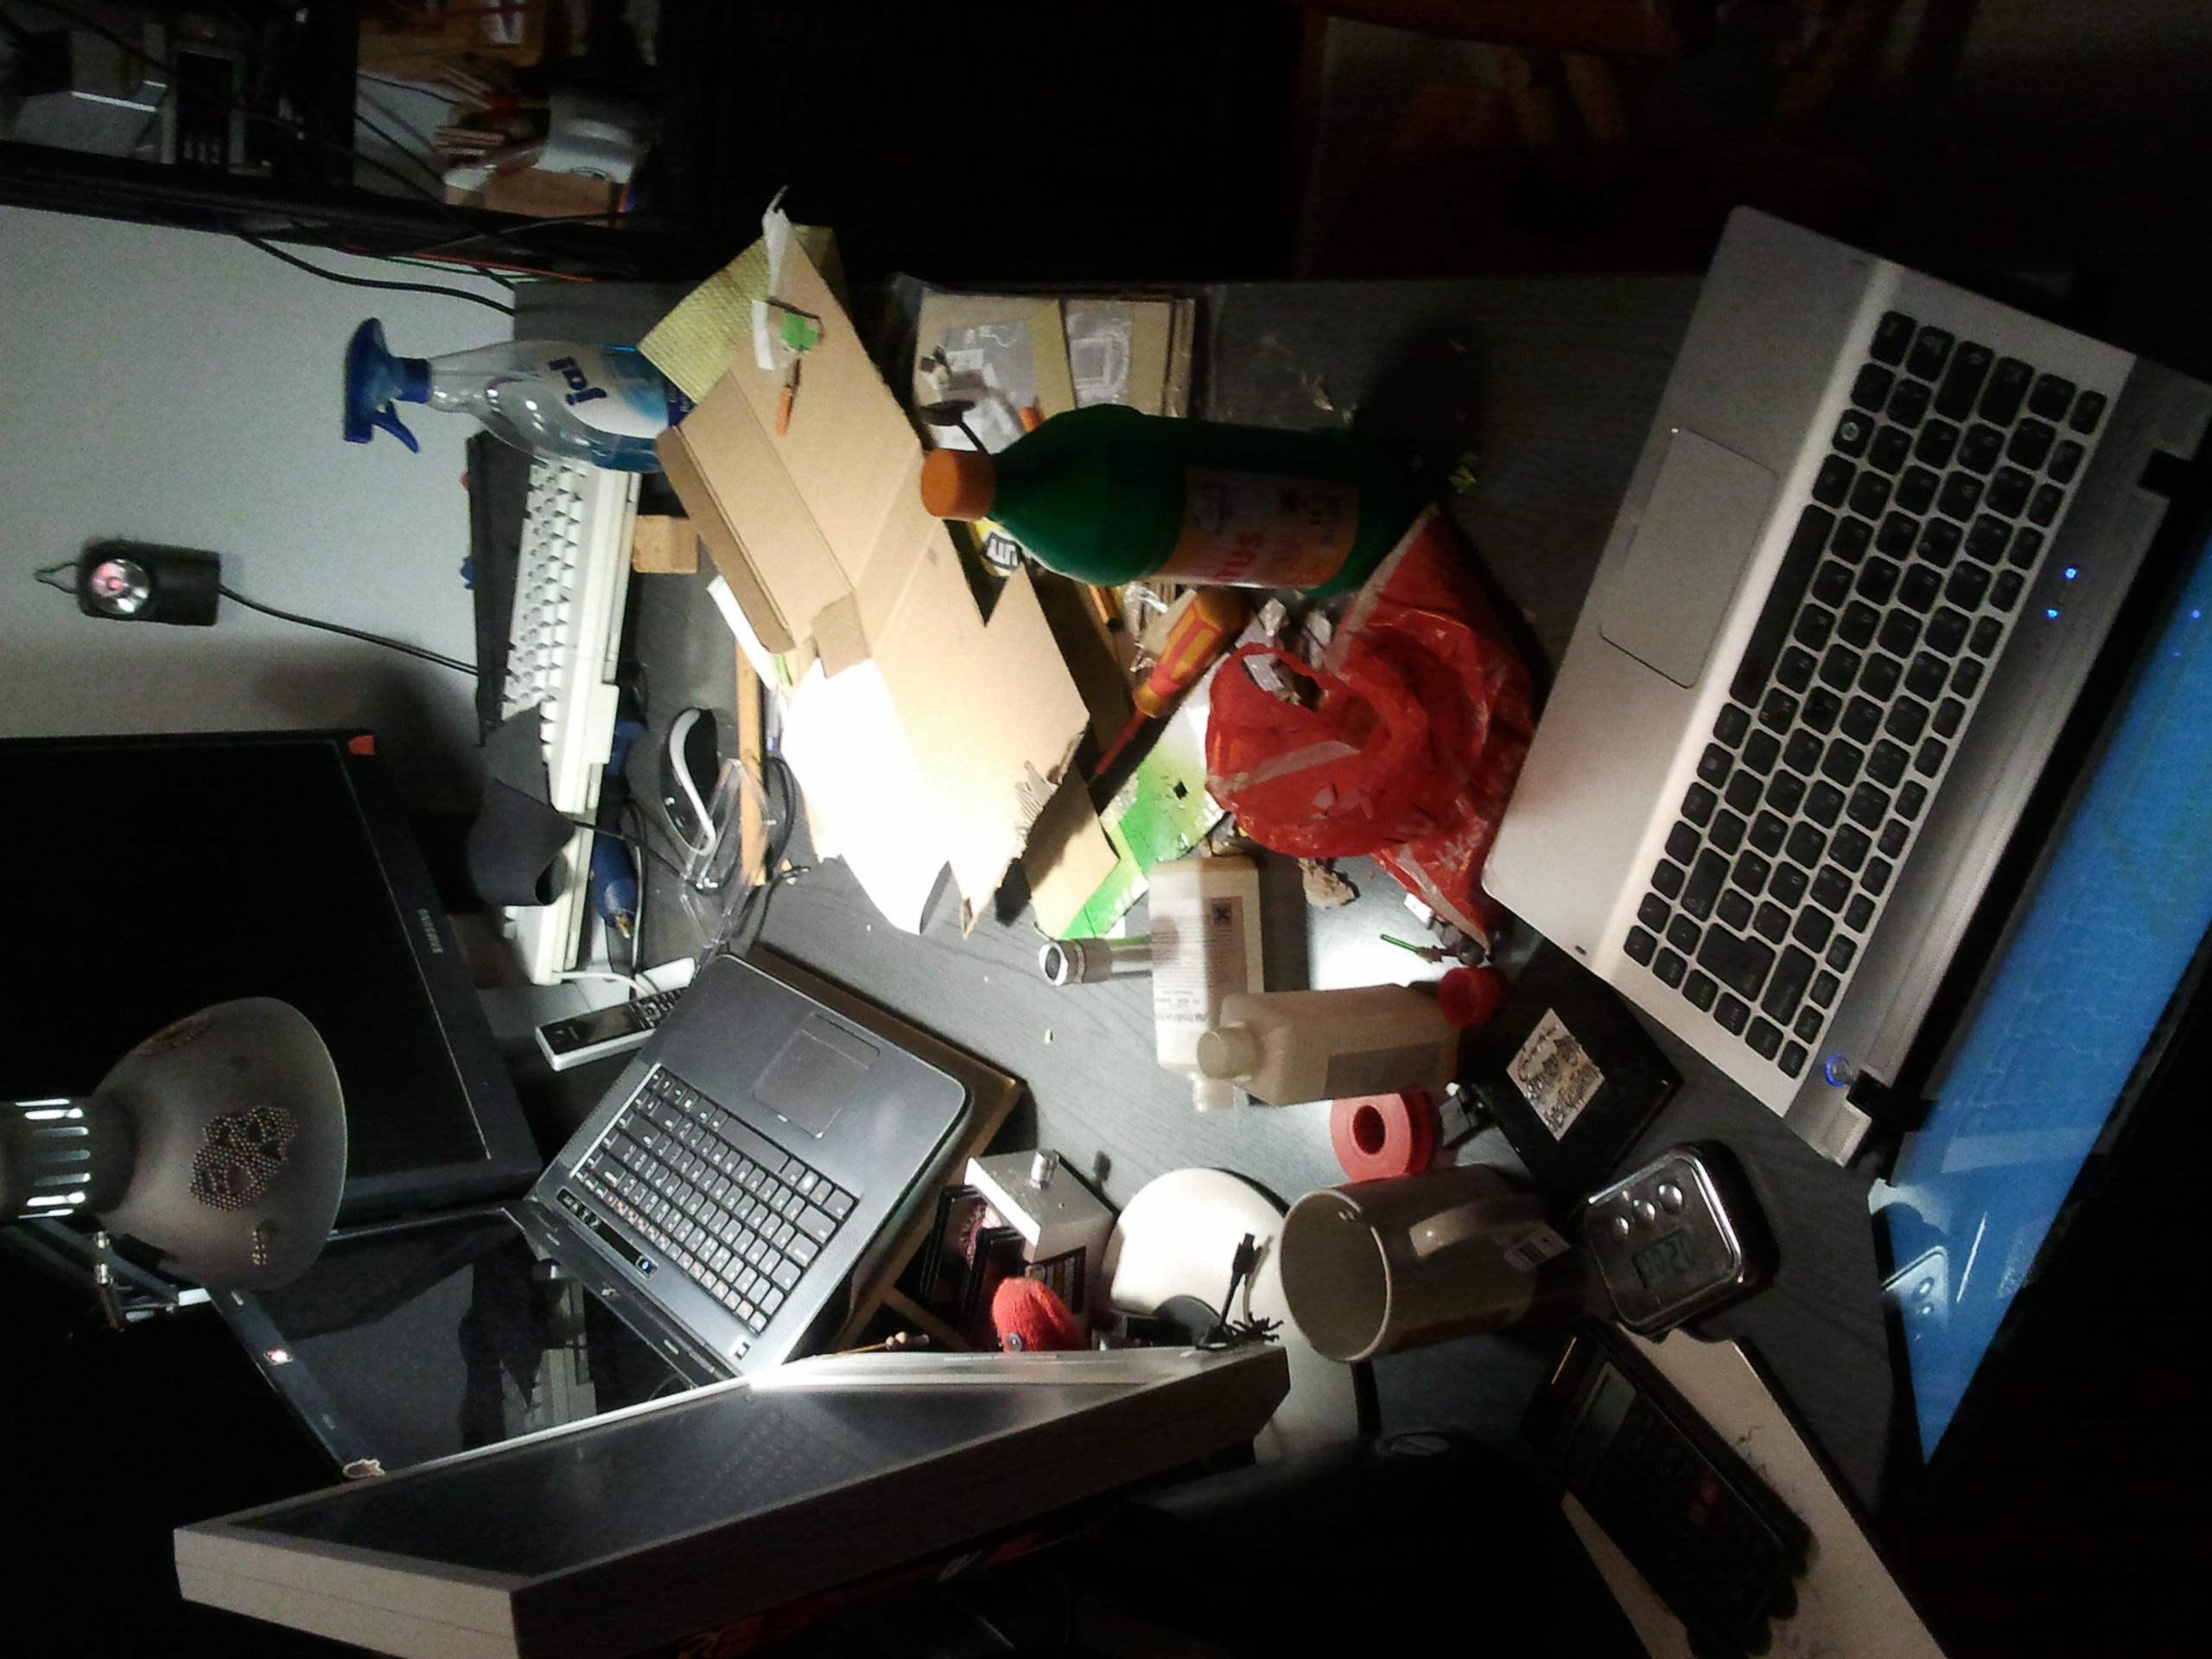
What a mess!
More Notes
Later i noticed that my supposedly fast machine suddenly felt pretty slow. I learned that my power supply wasnt recognized as genuine Dell anymore, and thus the machine clocked down to the lowest speed and stopped charging the battery. Why? Simple. The charger actually has a plug with three pins, although it looks like two. My adapter only had the main two, missing the third data pin.
DARN!
I had to cut out the plug and socket. Then i hot glued the power supplys plugs directly into place. Simple fix, but ugly.